Setup
1. Create a new or open a saved spreadsheet in Google Docs: http://docs.google.com/spreadsheets
2. In your RapidWeaver Stacks’ page, place the Live Data Stack at the top of the editor.
3. In order to import data you will need to obtain a key from your Google Spreadsheet. In the settings panel click the “Show Obtaining Key Tutorial” checkbox to learn how to get your key.

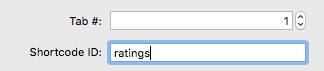
3a.(Optional, skip if you are not using tabs in your spreadsheet, if you don’t know what I am talking about it’s best to skip this step) Change the Tab # value to match the tab you want to use (tabs are found at the bottom of the Google Spreadsheets editor).
3b.(Optional, skip this step if you only plan on using one Live Data Stack) In order to use more than one Live Data Stack to import multiple spreadsheets, you will need to create a unique Shortcode ID for each. The ID is case sensitive and should not have spaces or contain any special characters (-_+=!@#$ etc).
4. You will be using short-codes to let the Stack know where you want data to be placed and to declare what cell in the spreadsheet to use.
What is a Short-code?
A short-code is a short line of code that lets you do things with little effort. Short-codes can embed files or create objects that would normally require lots of complicated, ugly code in just one line. Short-code = shortcut.
In the example short-code below, the first part “data” is the Shortcode ID of the Live Data Stack and the second part “A1” is the cell location of the data to use.
[data-A1]
After creating a short-code, you can place it anywhere text is accepted.
Example:
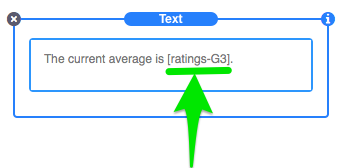
If you have changed the default Shortcode ID from “data” to “ratings”,
and in the spreadsheet that you have gotten a key from has a value in cell G3 that you want to use, your resulting shortcode will be:
[ratings-G3]
Place this code anywhere text is accepted to have the value from cell G3 display in that location.
You can import as many cells as you need to from the spreadsheet. I.E. [ratings-A1], [ratings-B3], [ratings-AA22], etc, all on the same Stacks page.
Note: The shortcode is case sensitive and requires the dash between the Shortcode ID (ratings) and the Cell location (G3).
Additional Settings
Live Updating – Enable this option if you want the data to update at timed intervals. This will allow that data to update without your page visitor reloading the page. After enabling this you can set how long in seconds the Stack will check the spreadsheet for updates.
Example – Using Live Data with IFTTT and Super Forms/Siphon
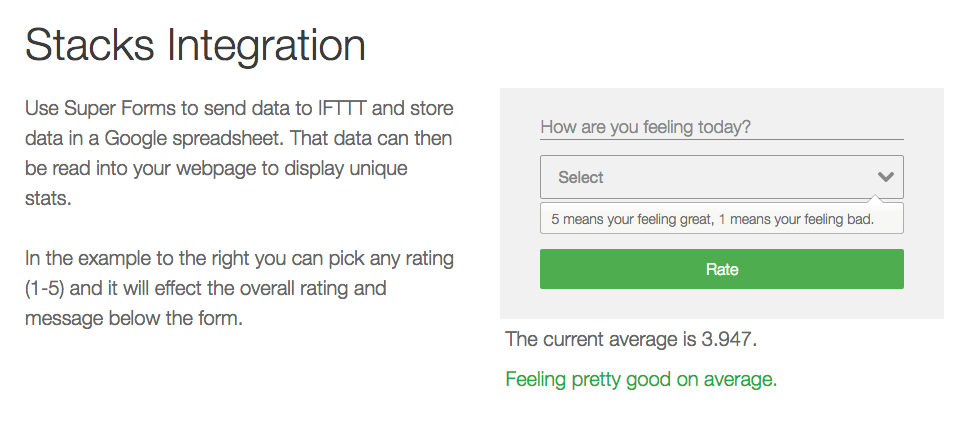
In this example we will be using an automated recipe service called IFTTT along with the Super Forms Stack or Siphon Stack to create a form users can fill out that will automatically send data to a Google spreadsheet. This tutorial assumes you have already gone through the basic setup for the Live Data stack found in the tutorial above.
The result will be the same as the example found on the preview site for Live Data under the heading “Stacks Integration”.
Part 1 – IFTTT
1. Log into your IFTTT account or create an account (It’s Free). IFTTT stands for IF This Then That, which in our example will mean, IF This(someone submits a form using Super Forms) Then That(store the data from the email in a Google spreadsheet).
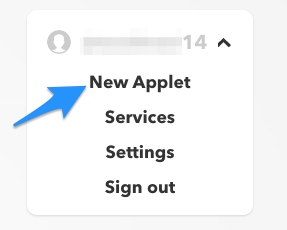
2. Once logged in to IFTTT, click on your user name in the menu in the top right corner, a dropdown menu will appear, now click on “New Applet“. We will be creating a new recipe that does the work for us.
3. In the new page, click on the word “THIS” written in big blue letters. We will be setting what needs to happen first.
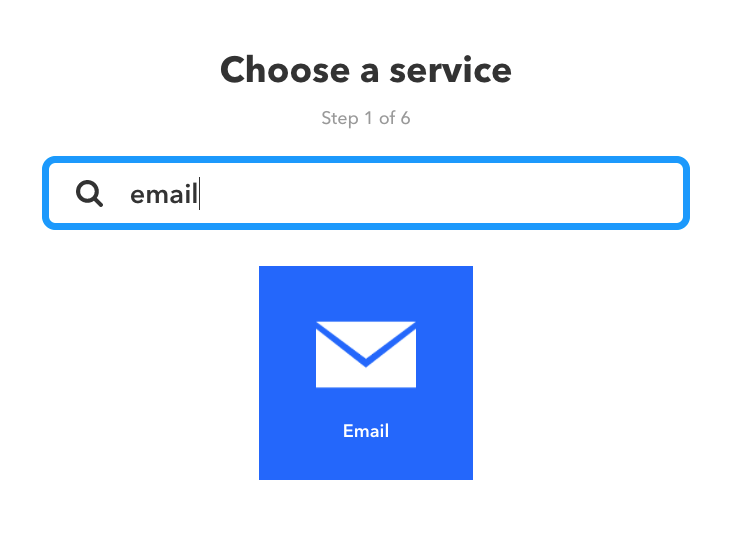
4. In step 1 of setup for your IFTTT recipe, search for “email” and select the icon labeled “email”.
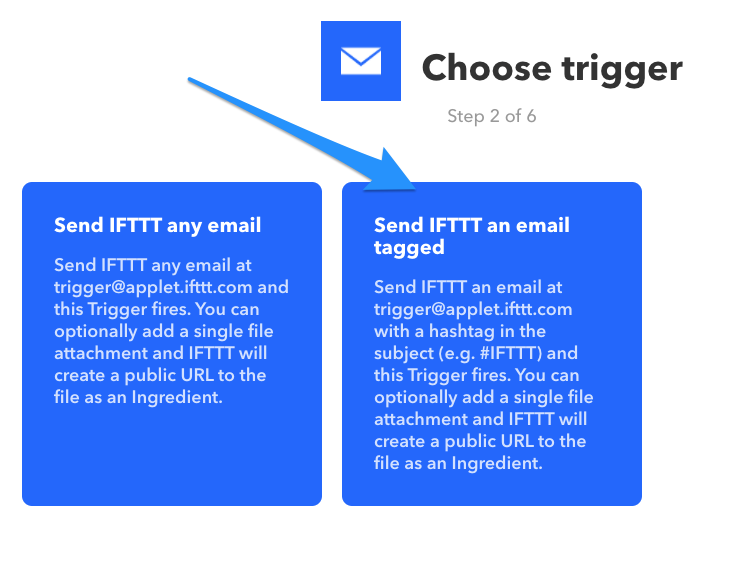
5. Then in step 2 select “Send IFTTT an email tagged”. This option means if the IFTTT email address trigger@recipe.ifttt.com receives an email from your account’s email address (the address associated with your IFTTT account) with a specific tag in the subject line, it will execute your “That” part of the recipe, which we are about to define after this. Don’t worry if it’s not making much sense yet, just follow the steps and once we are done you can see it in action.
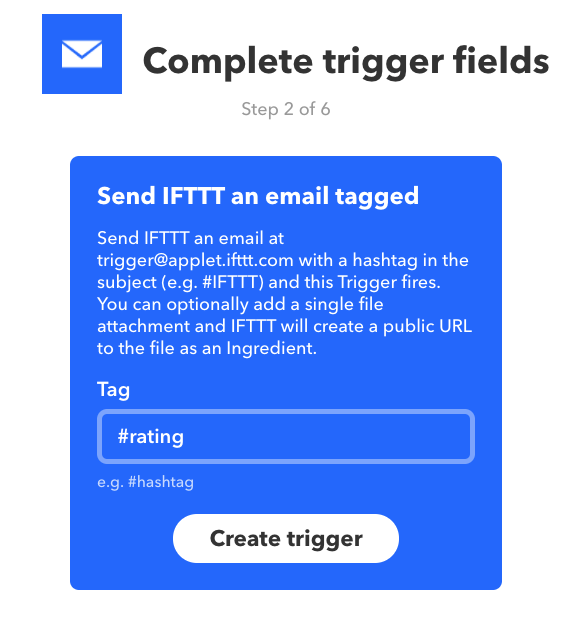
6. You can create any tag that you deem relevant, but for our example we will use “#rating“. Click “Create Trigger” to proceed.
7. In the new page, click on the word “THAT” written in big blue letters. We will be setting what needs to happen after the email is received.
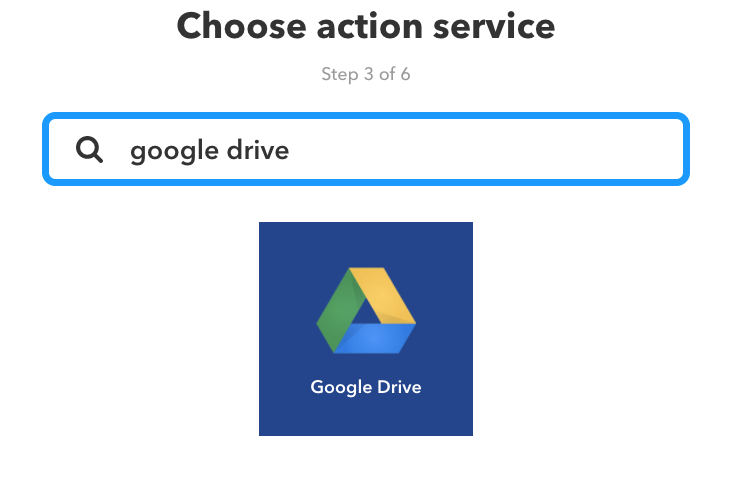
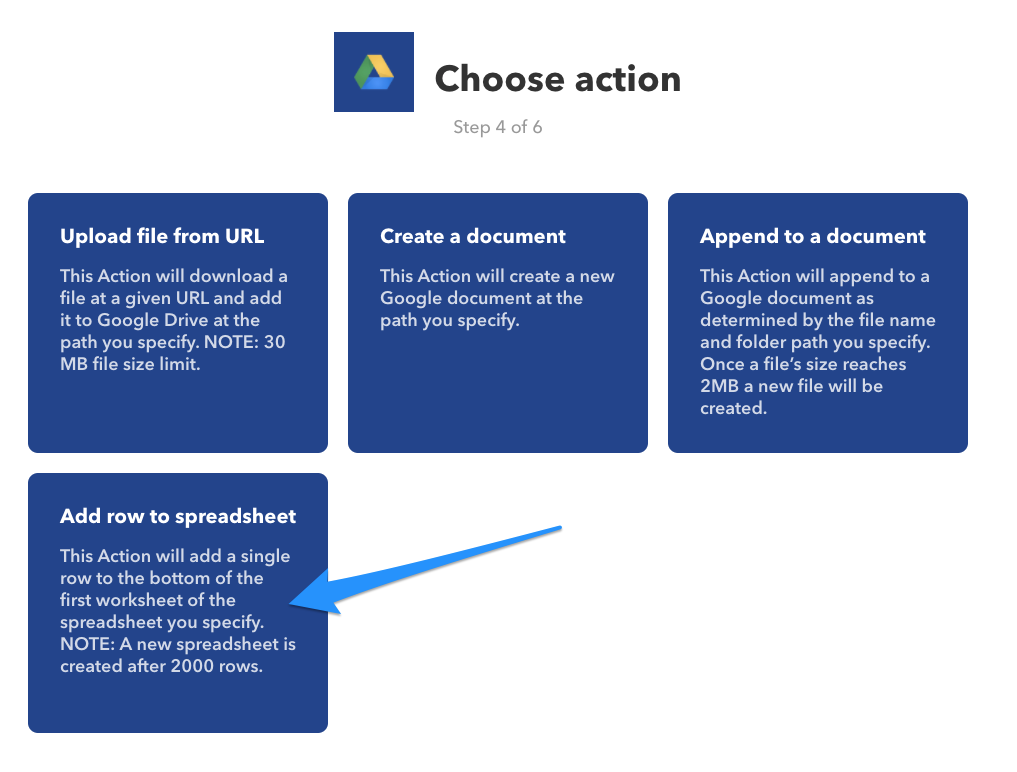
8. In step 3 search for “Google Drive” and click on the Google Drive icon.
9. Then in step 4 select “Add row to spreadsheet”. This will create a new row in your spreadsheet containing the information sent in the email from the “This” part of the recipe.
9. In step 5 of the IFTTT recipe setup, change the “Spreadsheet name” field to something appropriate, we will be naming our spreadsheet “Ratings”. You can leave everything else as it is and click “create action“.

10. In step 6 you will see a summary of the applet you have created. Take note of the email address “trigger@applet.ifttt.com” and the address associated to your IFTTT account, these addresses will need to be used in the Super Forms or Siphon Stack.
Note: The applet address has been changed in the past, double check this step to see the current address is still the same.
Click “create recipe” to finish the applet setup.
11. Now we need to test the applet to make sure everything was setup correctly. Log into your email (Must be your email address that was listed in Step 6 of the applet creation process) and send an email to the address trigger@applet.ifttt.com with the subject line containing your hash tag, in our example it is “#Rating”. In the body we will be placing a number to represent a rating.
Click send, and wait a few seconds. Log into your Google Spreadsheets (https://docs.google.com/spreadsheets) and you should see your new spreadsheet under “Recent Spreadsheets”. If the spreadsheet does not show up, be sure to check your applet for typos. If you still have trouble you may need to contact IFTTT support for help.
Part 2 – Super Forms / Siphon & Google Spreadsheets
1. In your RapidWeaver Stacks page, add Super Forms or Siphon to the editor.
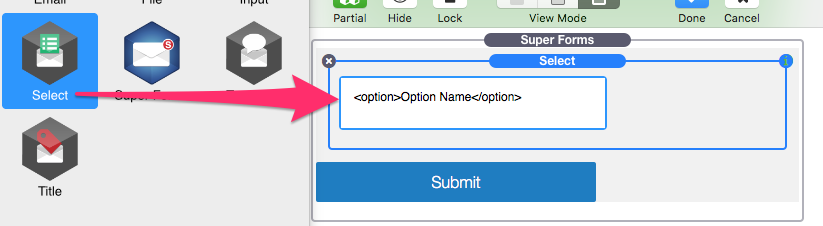
Super Forms: Add a Select field Stack.
Siphon: Add 5 answers to the first slide by clicking the “Add New Answer” button.
2. Create the selectable values.
Super Forms: Edit the Select field Stack’s options to have selectable values between 1 and 5. We have also placed a title above the Select field “How are you feeling today?”.
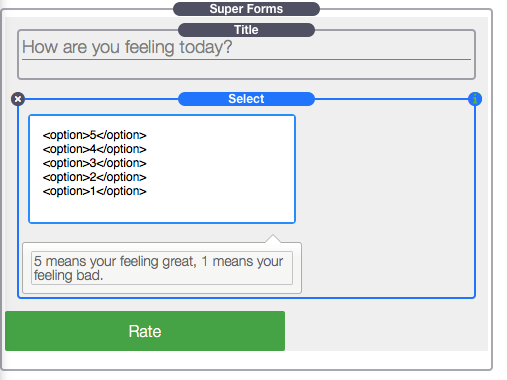
Siphon: Change the first slide’s question to “How are you feeling today?” and add text to each of your answers listing the numbers 1-5.
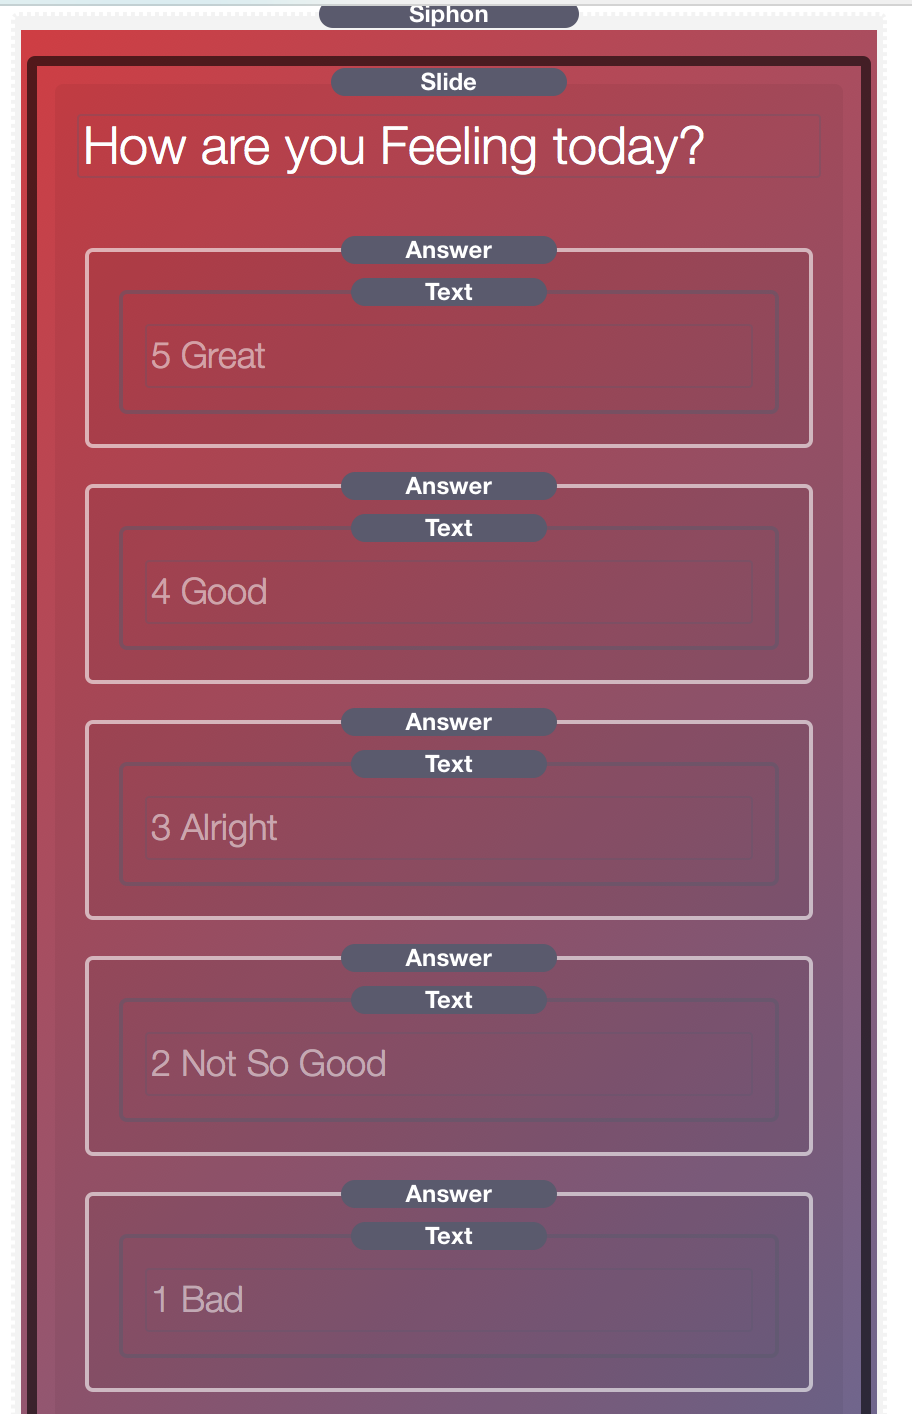
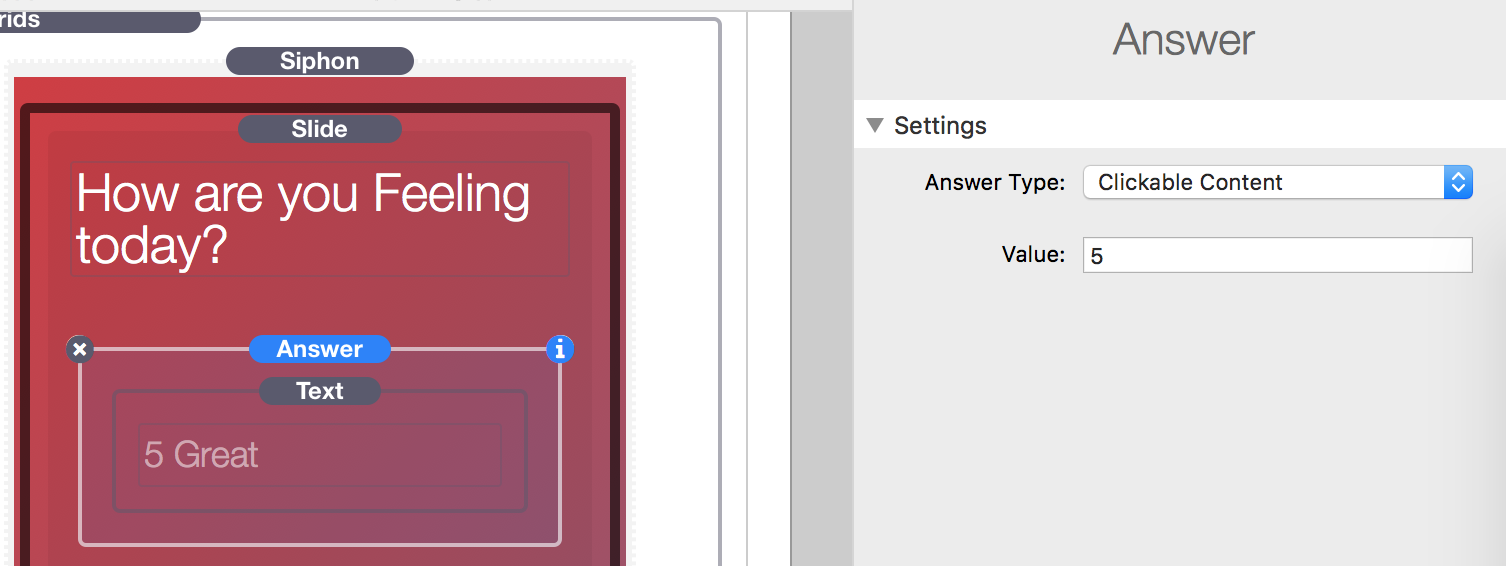
Siphon: Each answer needs to have a “Value” associated with the text in the answer.
3. We will need to edit some values in Settings Panel to get it to submit it’s emails to IFTTT.
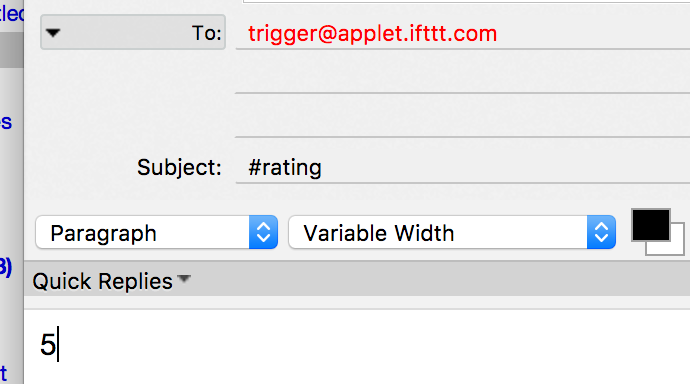
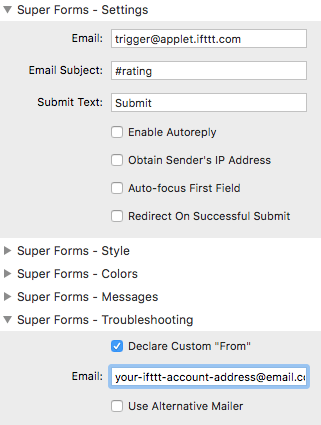
Super Forms: In the “Email” field put trigger@applet.ifttt.com, In the subject line put the tag you created in step 6 above (Step 3 of the IFTTT recipe setup), for our example it was #rating. Then in the settings panel under the heading “Troubleshooting” enable “Declare Custom ‘From'” and type in your own email address (the email address you used to sign up for IFTTT) into the email field below it.
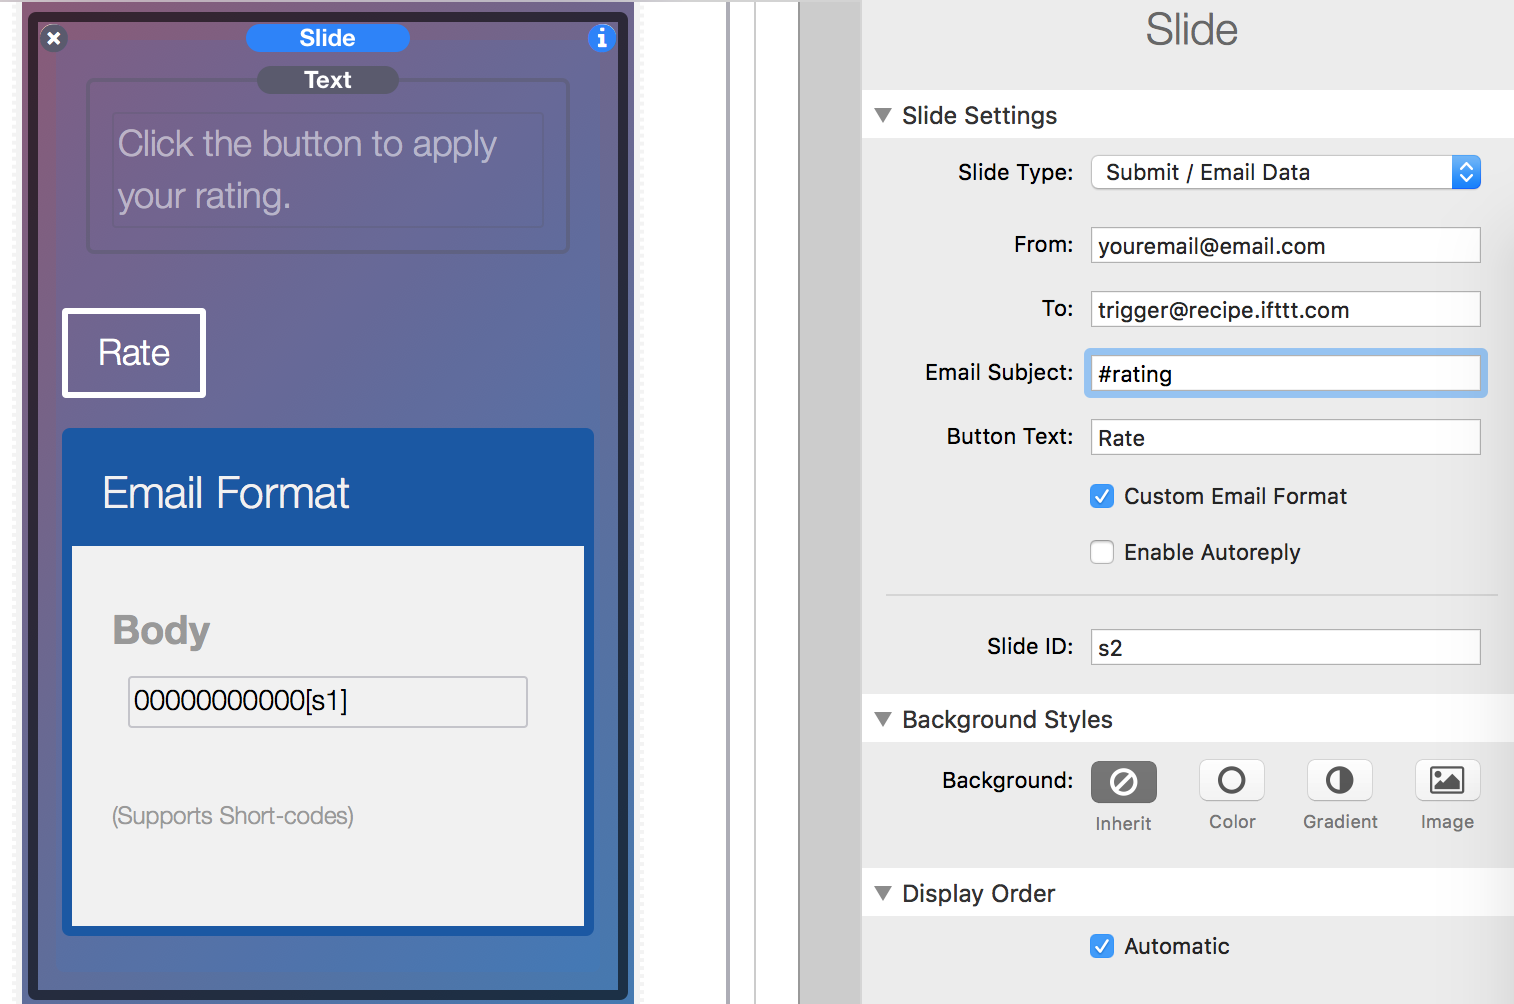
Siphon: Add a new slide and change it to a “Submit / Email Data” slide type. In the settings panel for that slide, add trigger@applet.ifttt.com to the “To” field. In the “Email Subject” field put the tag you created in step 6 above (Step 3 of the IFTTT recipe setup), for our example it was #rating. In the “From” field type in your own email address (the email address you used to sign up for IFTTT).
4. Publish this page and after it is published, navigate to the page online and use the form to see if it is working. If the email sends successfully you can go to Google spreadsheets and see if IFTTT has automatically created a spreadsheet with the data. If everything worked you will find a spreadsheet titled “Send IFTTT an email tagged“.

5. Inside the document you will see a row similar to the screenshot below.
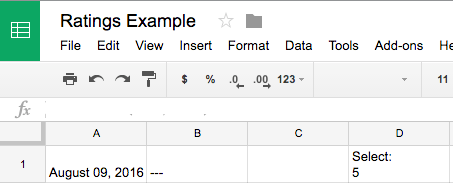
Notice that the value “5” is being added the the D column. Every time someone submits an email using the Forms the email body will appear in this column.
Super Forms: We need to remove the text from this column to find an average value so we will select cell E1 and add the formula:
=SPLIT( LOWER(D1) , "abcdefhijklmnopqrstuvwxyz:" )
Siphon: We will not need to filter any text out, skip to step 16.
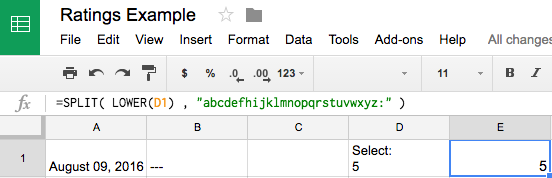
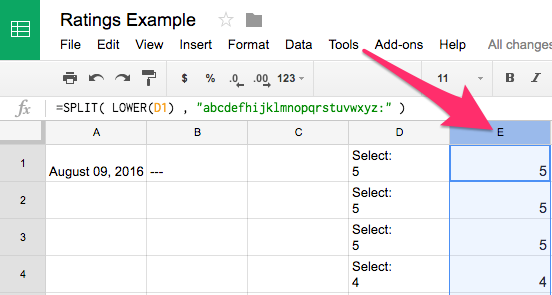
Super Forms: This will move the value from column D into column E without the text. Now we just need to copy the formula into the entire E column. To do so, highlight and copy (Cmd + C) cell E1 and then click on the E above that cell to highlight the entire column then paste (Cmd + P).
6. Now we just need to find the average by using the formula:
Super Forms:
=AVERAGEIF(E1:E, ">0")
You can place this formula in cell F1. This will find the average of all the values in column E. We do not have much data now but as page visitors use the form more values will appear.
Siphon:
=AVERAGEIF(D1:D, ">0")
You can place this formula in cell D1. This will find the average of all the values in column D. We do not have much data now but as page visitors use the form more values will appear.
7. Finally, you will just need to set up Live Data (just like in the Setup tutorial at the top of this page) to use cell F1.