Choosing a Parallax Style
Horizon Parallax comes with three different parallax effect types. All of the types can be found in the menu – Parallax section – Style setting.
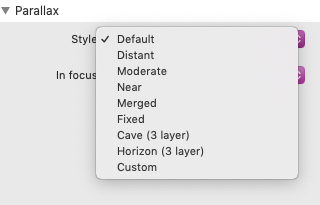
There are six single layer options, two three layer options, and a custom option. See the Using Single Layer Presets tutorial for using any of the six single layer options, Using Three Layer Presets tutorial for “Cave” and “Horizon” options, and Creating a Custom Parallax Effect for the “Custom” option.
Using Single Layer Presets
Select any of the first 6 options to use the single layer parallax type. This is the most common type that you will find used on the web.
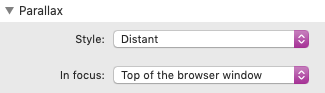
The In focus setting is used to determine when the content should be fully visible during the parallax animation. By default it is set to be in focus when the section is at the top of the browser window. You can also set it to when the section is in the center of the browser window. The last option “Bottom of the browser window” is for when Horizon Parallax is the last section on the page. This is so the content can be in focus when it comes into the window because it may not be able to reach the center or the top of the browser.
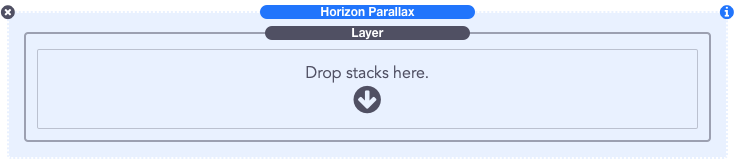
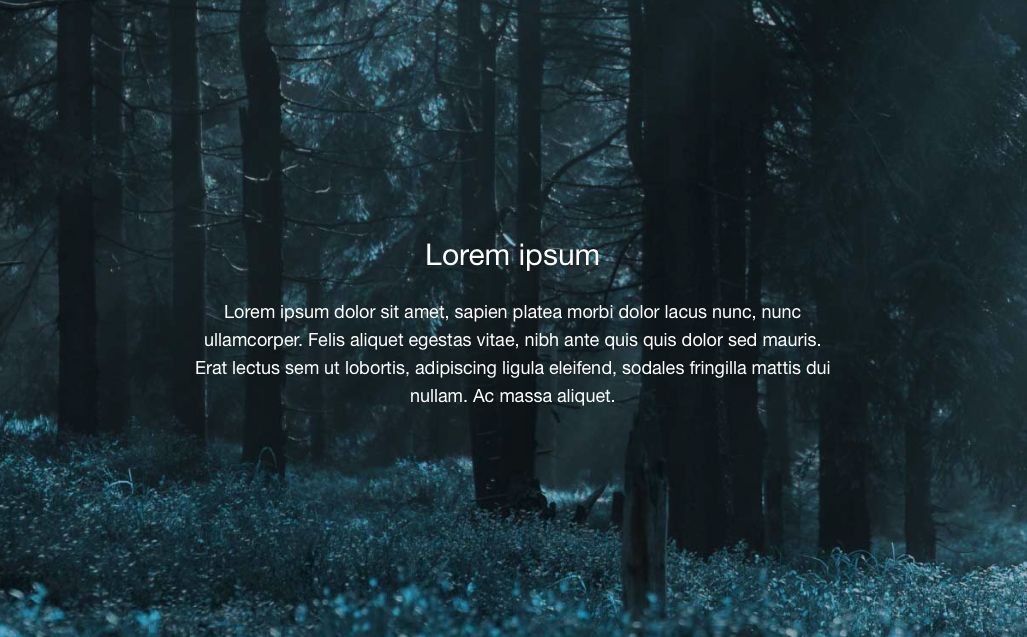
Inside the Horizon Parallax stack you will see a “Layer” stack. This is where you can place content like text, images, or other stacks. You can leave the Layer stack empty if you do not wish to display content and are only using a background image.
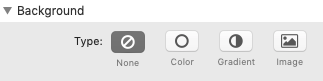
Next select the Horizon Parallax stack again to bring up the settings menu. In the Background section – Type setting select “Image”. There are also options if you do not wish to use a background image. Without a background image only the content will appear to move when the page is scrolled.
Select or drag and drop and image you want to use. Make sure that the image you use is optimized. Images that are greater than 1Mb is size can impact the performance of the parallax effect and the rest of your website. If you do not have a image optimization app, I would recommend using a free online compressor like https://www.websiteplanet.com/webtools/imagecompressor/ (Thanks to a suggestion from one of our customers).
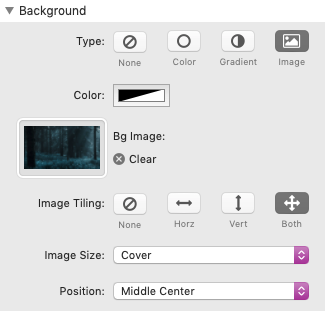
If the image you are using is intended to be used as a pattern you can set Image tiling to “Both” and Image size to “Actual size” or “Use custom size”. If you are using a full image you will not need to adjust any of the settings found in this section.
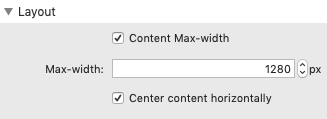
In the Layout section you can adjust the position and size of the background and content. Enable Content Max-width if you are using a framework or theme that supports full-width content. Here you can apply a width to the content in pixels and optionally have it centered within the available space.
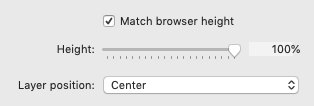
By default Horizon Parallax will match the height of the content you place inside of it. If you are not adding content or if you want the image to fill the entire browser window you can enable Match browser height. Enabling it will give you an option to match the height based on a percentage. You can use the Layer position setting to change the vertical alignment of the content when there is available space. Only the first three options “Top”, “Center”, and “Bottom” will have an effect on single layer parallax types.
The remaining settings allow you to add classes and an ID to the stack but are not necessary for setup.
You will need to add content below Horizon Parallax in order for there to be enough space to scroll and test the effect. If you have done that, you can switch to preview mode to test it out and make adjustments if necessary.
Using Three Layer Presets
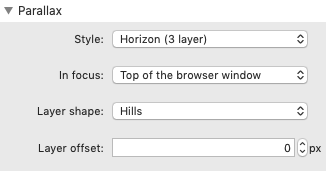
In the Style setting select either “Cave” or “Horizon”.
The In focus setting is used to determine when the content should be fully visible during the parallax animation. By default it is set to be in focus when the section is at the top of the browser window. You can also set it to when the section is in the center of the browser window. The last option “Bottom of the browser window” is for when Horizon Parallax is the last section on the page. This is so the content can be in focus when it comes into the window because it may not be able to reach the center or the top of the browser.
The Layer shape setting will let you choose from five different predefined shapes that display at the bottom and/or top of the Horizon Parallax stack. If you have the Shape Sector stack and plan on using your own shape you can ignore this setting.
The Layer offset setting is only visible if you are using the “Horizon” option. This will add space at the top of the stack. This is mostly useful for adjusting how much of your background image shows through above the shapes and content. In most cases you will leave this value at 0px.
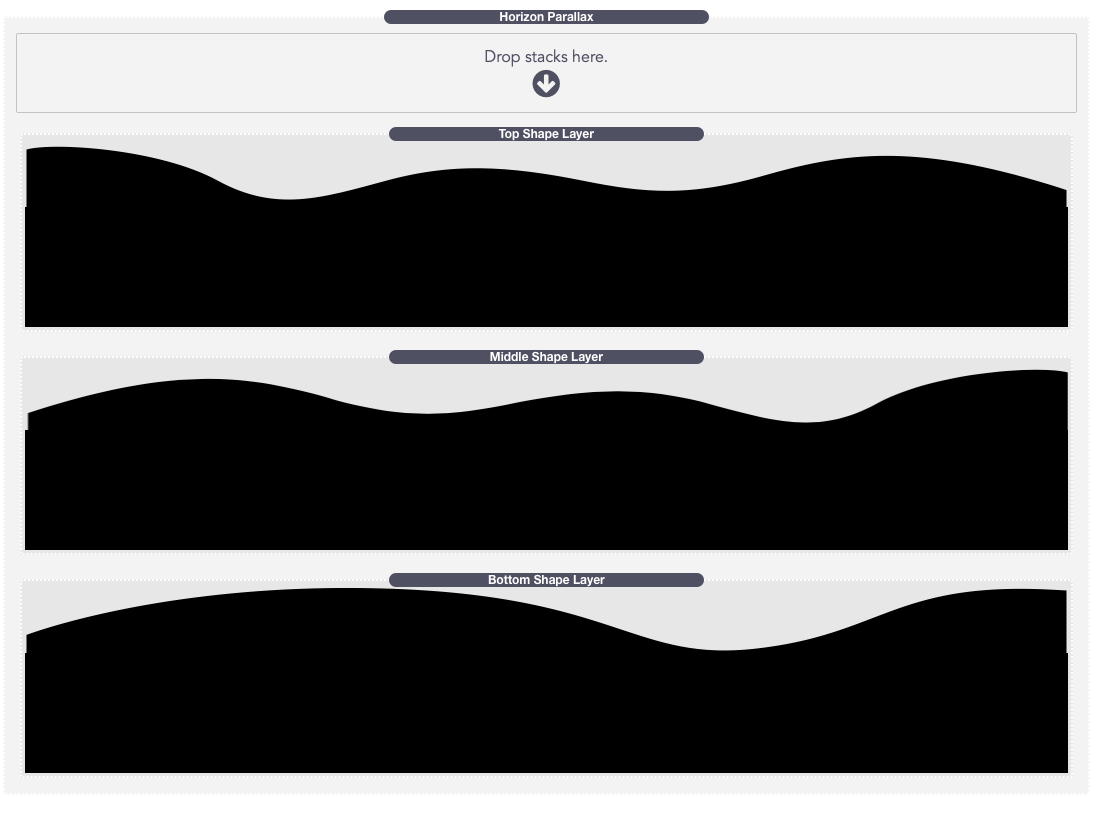
Inside the Horizon Parallax stack you will see three (Horizon) or two (Cave) “Shape Layer” stacks. Each shape is defined by the Layer shape setting. By default each layer color is set to black. Select each shape layer to change the color. You also have the option to adjust the height of each shape layer thought it is not necessary to do so. If you are using the “Horizon” option each layer will need to be a different color for the effect to appear properly.
If you have the Shape Sector stack and want to use different or custom shapes you can delete the shape layer stacks and replace them with Shape Sector.
Above the shape layer stacks is a section for adding content. This is where you can place content like text, images, or other stacks. You can leave the section empty if you do not wish to display content and are only using a background image.
Next select the Horizon Parallax stack again to bring up the settings menu. In the Background section – Type setting select “Image”. You must use the image option for the parallax effect to appear properly with the three layer presets.
Select or drag and drop and image you want to use. Make sure that the image you use is optimized. Images that are greater than 1Mb is size can impact the performance of the parallax effect and the rest of your website. If you do not have a image optimization app, I would recommend using the free online compressor found at imagecompressor.com
If the image you are using is intended to be used as a pattern you can set Image tiling to “Both” and Image size to “Actual size” or “Use custom size”. If you are using a full image you will not need to adjust any of the settings found in this section.
In the Layout section you can adjust the position and size of the background and content. Enable Content Max-width if you are using a framework or theme that supports full-width content. Here you can apply a width to the content in pixels and optionally have it centered within the available space.
By default Horizon Parallax will match the height of the content you place inside of it. If you are not adding content or if you want the image to fill the entire browser window you can enable Match browser height. Enabling it will give you an option to match the height based on a percentage. You can use the Layer position setting to change the vertical alignment of the content when there is available space. This setting affects the layout of each layer when the stack is in focus. Below is a visual example of each of the options.
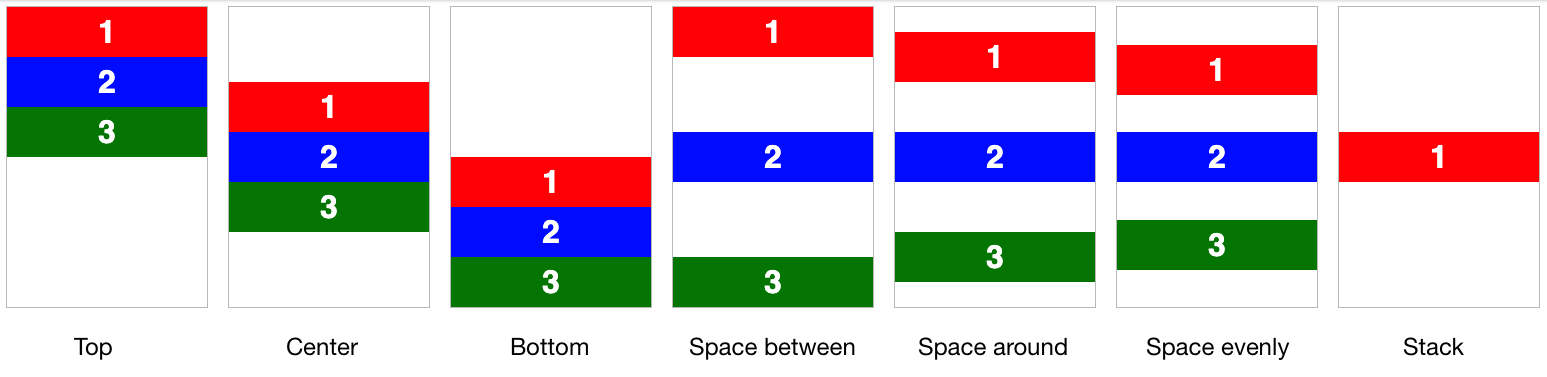
Typically, for the “Horizon” and “Cave” presets you will want to leave this option set to “Center”.
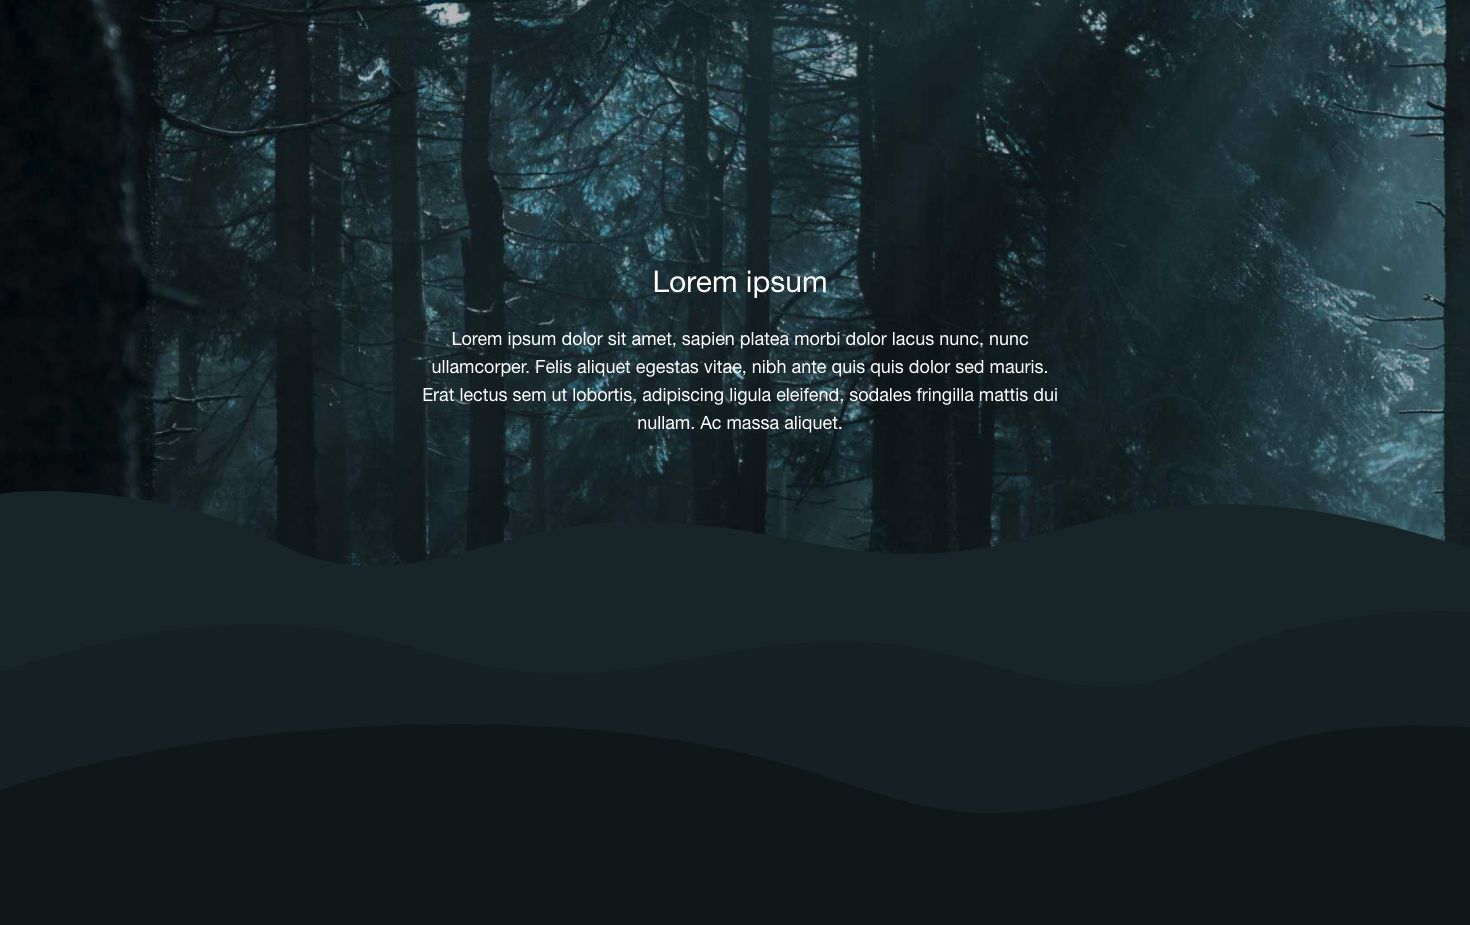
You will need to add content below Horizon Parallax in order for there to be enough space to scroll and test the effect. If you have done that, you can switch to preview mode to test it out and make adjustments if necessary.
Creating a Custom Parallax Effect

In the Style setting select “Custom”.
The In focus setting is used to determine when the content should be fully visible during the parallax animation. By default it is set to be in focus when the section is at the top of the browser window. You can also set it to when the section is in the center of the browser window. The last option “Bottom of the browser window” is for when Horizon Parallax is the last section on the page. This is so the content can be in focus when it comes into the window because it may not be able to reach the center or the top of the browser.
The Layer offset setting will add space at the top of the stack. This is mostly useful for adjusting how much of your background image shows through above the shapes and content. In most cases you will leave this value at 0px.

Inside the Horizon Parallax stack you will see three “Layer” stacks. Each layer can animate in one of four different directions (up, down, left, right) at different speeds or intensity. No matter how you set up the animations, the layers will display in the order they are when the Horizon Stack is in focus (determined by the In focus setting). Their distance from each other will depend on any margin you set or the Layer position setting if you have enable Match browser height in the Layout section ahead.
If you have the Shape Sector stack you can place it into any of the layers for it to automatically work as a moving shape divider.
You can place any content like text, images, or other stacks into each of the three layers. You do not need to use all three layers and any layer that is left blank will not display. Leaving all three sections blank will make Horizon Parallax collapse and it will not display unless you have enable Match browser height in the Layout section ahead.
Next select the Horizon Parallax stack again to bring up the settings menu. In the Background section – Type setting select “Image”. There are also options if you do not wish to use a background image. Without a background image only the content will appear to move when the page is scrolled.
Select or drag and drop and image you want to use. Make sure that the image you use is optimized. Images that are greater than 1Mb is size can impact the performance of the parallax effect and the rest of your website. If you do not have a image optimization app, I would recommend using the free online compressor found at imagecompressor.com
If the image you are using is intended to be used as a pattern you can set Image tiling to “Both” and Image size to “Actual size” or “Use custom size”. If you are using a full image you will not need to adjust any of the settings found in this section.
In the Layout section you can adjust the position and size of the background and content. Enable Content Max-width if you are using a framework or theme that supports full-width content. Here you can apply a width to the content in pixels and optionally have it centered within the available space.
By default Horizon Parallax will match the height of the content you place inside of it. If you are not adding content or if you want the background image to fill the entire browser window you can enable Match browser height. Enabling it will give you an option to match the height based on a percentage.
You can use the Layer position setting to change the vertical alignment of the content when there is available space. This setting affects the layout of each layer when the stack is in focus. Below is a visual example of each of the options.
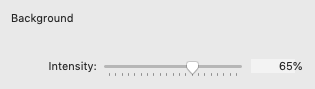
In the menu’s Parallax section under the heading “Background” you can change the Intensity of the background image parallax effect. 0% means the image moves with the rest of the page as it scrolls as normal not moving at all. 100% means the image appears to stay perfectly still while the page scrolls because it is moving at 100% the rate the page is scrolling, but moving downward while the page scrolls upward. Typically you will want to set a value somewhere between 0% and 100%.
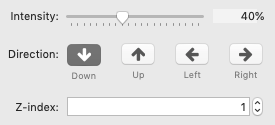
Below the background setting you will find three settings for each of the three layers.
The Intensity setting works the same as it does for the background. However, instead of just moving downward while the page scrolls up you can change the direction the layer animates by using the Direction setting.
Each layer also has a Z-index setting to change which layer appears over top of another if they move past each other. The higher values will appear on top.
You will need to add content below Horizon Parallax in order for there to be enough space to scroll and test the effect. If you have done that, you can switch to preview mode to test it out and make adjustments if necessary.