Adding Images to the Slider
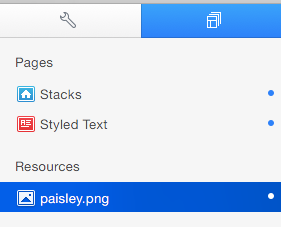
Step 1: Add the images you wish to use to the “Resources” section.
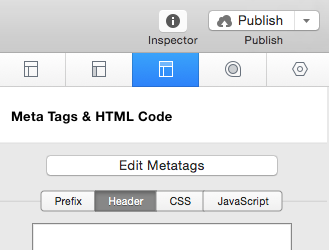
Step 2: Navigate to your Page Inspector > HTML tab > Header Tab.
Step 3: Copy and Paste the code below into the text area.
<img src="%resource(paisley.png)%" alt="example" title="Caption text here" />
Step 4: Change name_of_resource.jpg to match the name of your resource & be sure to make sure the extension matches as well (png, jpeg, or jpg). The names are case sensitive so slide-1.jpg in the code and slide-1.JPG in the resource section would not work.
Step 5: Change the value of ‘title’ to your desired caption or delete title if you don’t wish to display a caption.
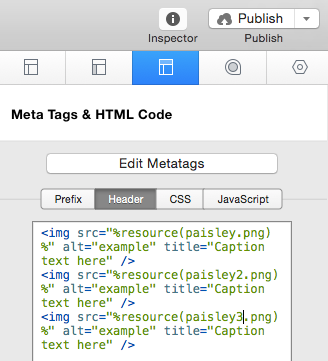
Step 6: Repeat steps until you have as many photos you want to display in the slider, preview and you are complete. Your finished code in the Header-Header section should be similar to the screen shot below.
Adding Content to the Promotional Boxes
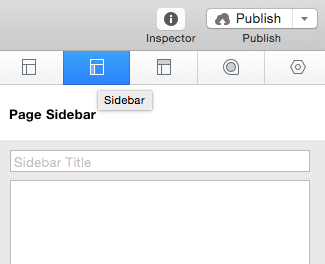
Step 1: Navigate to the Sidebar Tab of the Page Inspector > Sidebar.
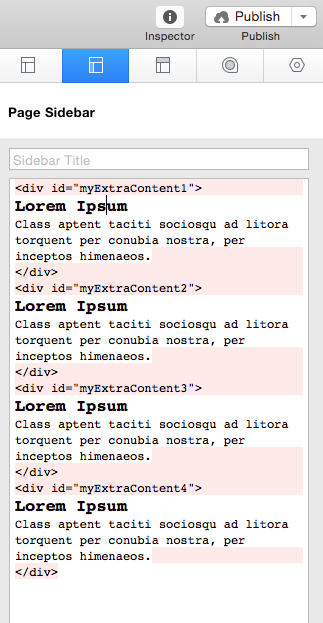
Step 2: Copy and Paste the code below into the Sidebar text area.
<div id="myExtraContent1">
Promo Box 1 Content Here
</div>
<div id="myExtraContent2">
Promo Box 2 Content Here
</div>
<div id="myExtraContent3">
Promo Box 3 Content Here
</div>
<div id="myExtraContent4">
Promo Box 4 Content Here
</div>
Step 3: Highlight the code & select Ignore Formatting from the Format Drop down menu (or press ? . ).
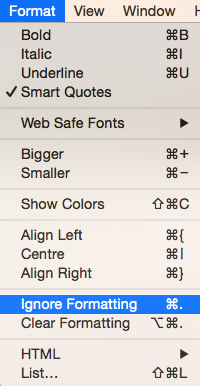
Step 4: Add your desired content to each section replacing the text “Promo Box # Content Here”. Then Highlight everything between
<div id="myExtraContent#">
</div>
& select Ignore Formatting from the Format Drop down menu again (or press ? . ). The content will now not be highlighted in pink anymore and only the HTML code will be highlighted as code.
Step 5: Preview and you are complete. Your finished code in the Sidebar should be similar to the screen shot below.
Social Media Icons
Step 1: Social Media Icons can be placed in the Main Content area, Sidebar, and Site Slogan. Copy and paste the code below into your desired location.
<div id="socialMedia">

</div>
Step 2: Copy the code below and paste it between <div id=”socialMedia”> & </div>.
<a href="http://www.webaddresshere.com"><span>#</span></a>
Step 3: Find the Social Media Icon you wish you use from the Glyph Chart below.
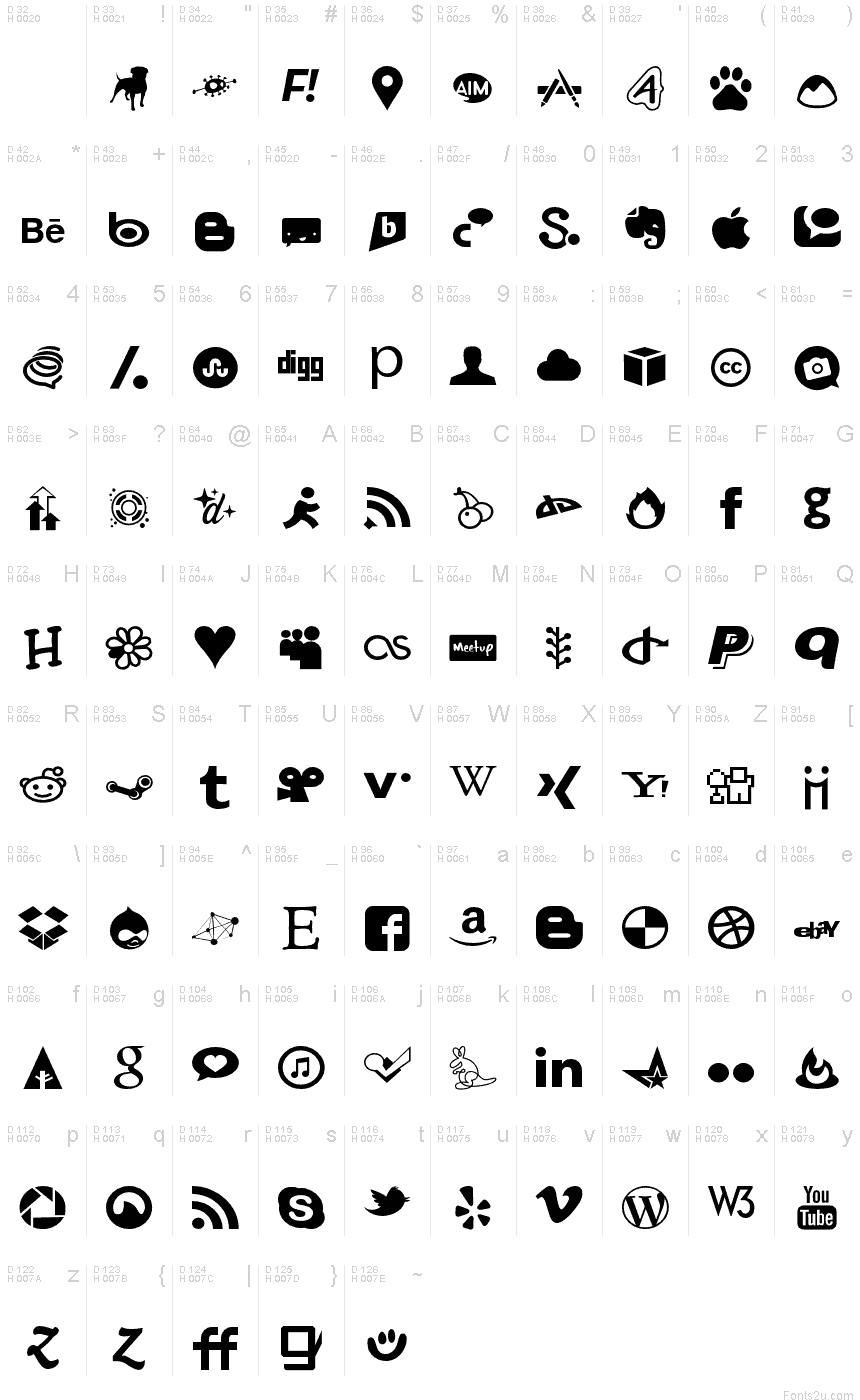
Step 4: Type the corresponding letter in-between <span> & </span>.
Step 5: Replace http://www.webaddresshere.com with the address to your social media site.
Step 6: Repeat steps 3 – 5 untill you have all the icons you wish to use.
Step 7: Highlight the code & select Ignore Formatting from the Format Drop down menu (or press ? . ). Your finished results should resemble the screen shot below.

Navigation Subtitles
Step 1: After creating a page, double click the title to begin renaming the page.
Step 2: Type in <p> & then your desired subtitle followed by </p>. Your finished title should resemble the screenshot below.
![]()