Tips and Tricks:
Introduction:
Parallax Orbit was coded very efficiently to reduce the amount of work the browser needs to do.
But when you’re dealing with multiple images, javaScript can’t make the images load faster.
Here are some tips for using Parallax Orbit, as well as improving performance.
(for a definition of terms, scroll down to ‘General Controls’)
1. Resizing images with Photoshop
Once you have your image in photoshop, go to Image>>Image Size.

Resize Image
A window will pop up that looks like this:

Resize Image Window
First, make sure that you have the link selected:
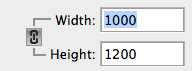
Selected

Not Selected
This ensures that the aspect ratio is maintained while resizing.
Change the size of the image with your desired unit of measurement (usually pixels).
If you’re making the image smaller, then under ‘Resample:’ select ‘Bicubic Sharper (reduction)’.
I don’t recommend making the image larger, as this can significantly reduce image quality.
Click OK to resize the image.
2. Saving images with Photoshop
Once you have your image in photoshop, go to File>>Save For Web.
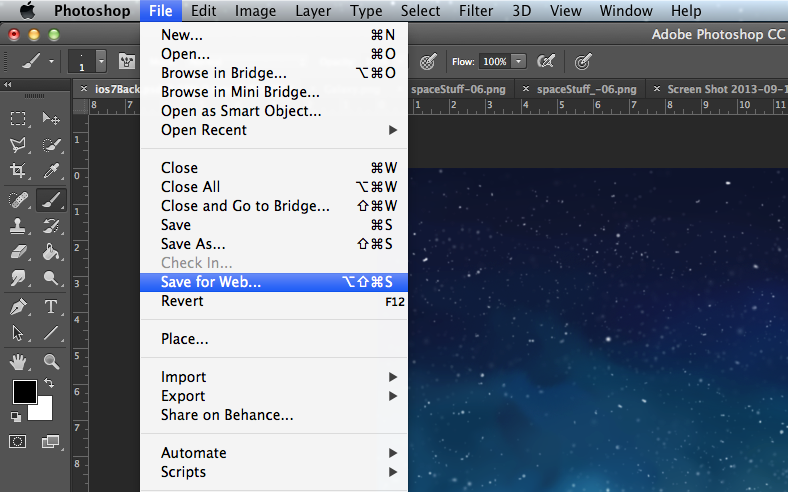
Save for Web
Next, a window will pop up that looks like this:
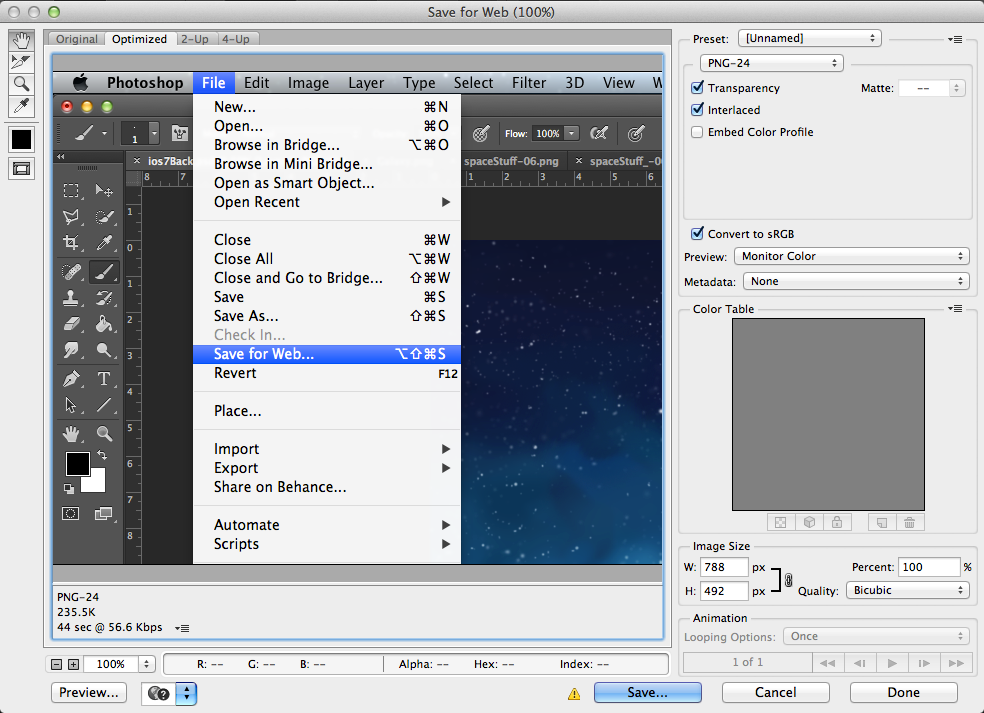
Save for Web Window
We want to select PNG-24, this is higher quality than jpeg but it loads faster as well.
If your image has transparency, then check the ‘transparency’ checkbox.
Interlaced means that when someone views your page, they’ll see a blurry image at first, and as it loads it will become higher resolution. Rather than loading from top to bottom. I recommend checking this box.
You can leave ‘Embed Color Profile’ unchecked.
Make sure that ‘Convert to sRGB’ is checked. it should be by default.
Under ‘Metadata’, select none.
Last, click ‘Save…’ at the bottom and choose a directory to save it to.
3. Big-Medium-Small Images
Parallax Orbit automatically uses whatever images are available, and ignores blank images.

(NOTE: I have customized my Rapidweaver, so it may look slightly different)
So you can add a ‘Big Image’, but leave medium and small empty, and it will automatically use the ‘Big Image’ for all screens.
4. Layering Transparent images
In a Rapidweaver Stacks page, simply drag and drop the Parallax Orbit Stack onto your page (doesn’t matter where).

Icon
Next, Drag another Parallax Orbit Stack onto your page.
Edit Mode, Right Order
(NOTE: The Moon is above the background.)
Now let’s get the settings right for each stack:
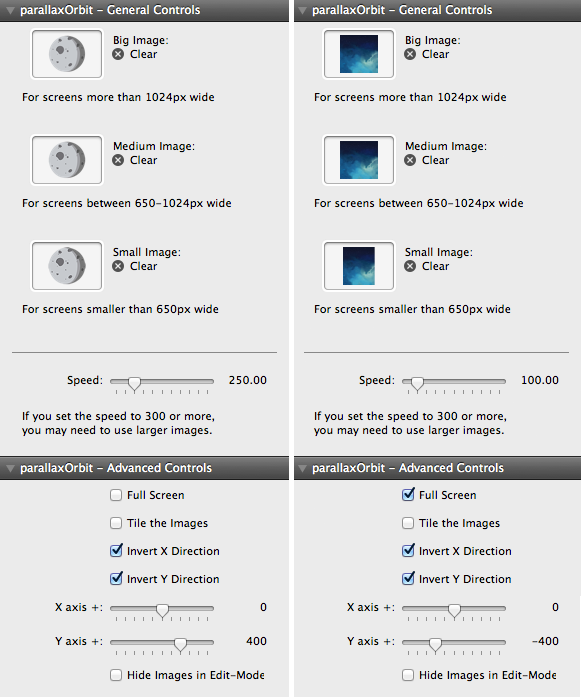
Settings
Since we have the Moon Image above the Stary Background, we will get the desired result in preview mode:

Preview Mode, Right Order
If we reverse the order in edit mode, so that the background image is above the moon image:

Edit Mode, Wrong Order
Then we get the following result in preview mode:

Preview Mode, Wrong Order
So when one stack is placed above another in edit mode, it will also be placed in front of the other stack in preview mode.
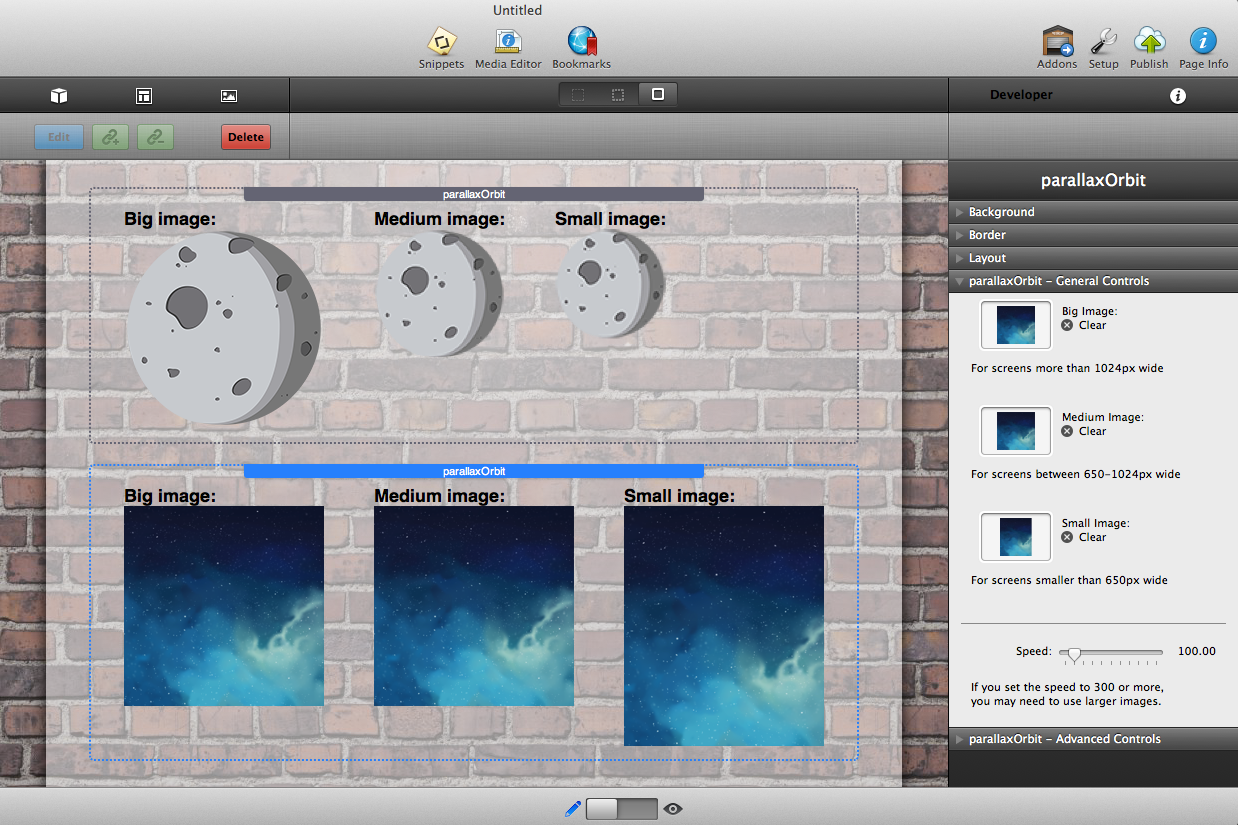
General Controls:
Big Image:
Loads a large image for large displays.
(any full screen images should be at least 2000px wide in order not to show the edges of the image)
Medium Image:
Loads a medium image for Screens between 650px-1024px wide.
(any full screen images should be at least 1500px wide in order not to show the edges of the image)
Small Image:
Loads a small image for Screens smaller than 650px wide.
(any full screen images should be at least 1000px wide in order not to show the edges of the image)
Speed:
Controls how fast the image moves relative to the tilt/mouse position. The higher the number, the faster it moves. To prevent any image movement, set at 0.
Advanced Controls:
Full Screen:
Ensures that the image is always wide enough to cover the screen.
(this will stretch images that are too small to be full screen)
Tile the Images:
This will repeat the image in the x and y directions. This is useful for patterns and textures.
Invert X Direction:
When checked, moving the mouse to the Right will move the image to the Left and moving the mouse to the Left will move the image to the Right.
When NOT checked, moving the mouse to the Right will move the image to the Right and moving the mouse to the Left will move the image to the Left.
(Recommended to be checked in most cases)
Invert Y Direction:
When checked, moving the mouse Up will move the image Down and moving the mouse Down will move the image Up.
When NOT checked, moving the mouse Up will move the image Up and moving the mouse Down will move the image Down.
(Recommended to be checked in most cases)
X axis +:
This allows you to offset the image on the X axis in pixels. So positive numbers offset the image to the Right, and negative numbers offset the image to the Left.
Y axis +:
This allows you to offset the image on the Y axis in pixels. So positive numbers offset the image Down, and negative numbers offset the image Up.
Hide Images in Edit-Mode:
This setting hides the images in Edit mode in Rapidweaver, but has no affect on the way your page looks in preview mode, or live on a server.
Hiding the images can improve performance when editing a page with lots of content.