Adding Slider Images
Step 1: Install the conversa-sliderimages.rwsnippet.
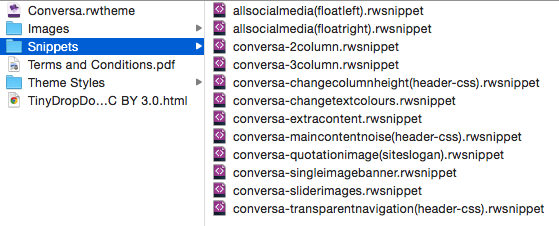
Step 2: Navigate to the Page Inspector HTML CSS section.
Step 3: Drag the Custom Slider snippet in to the Custom CSS box.
Step 4: Add the images you want to use to your Resources section.
Step 5: After loading your resource click on it and highlight the name and copy it.
Step 6: Paste the name in-between %resource( and )%.
![]()
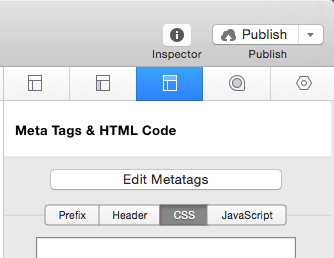
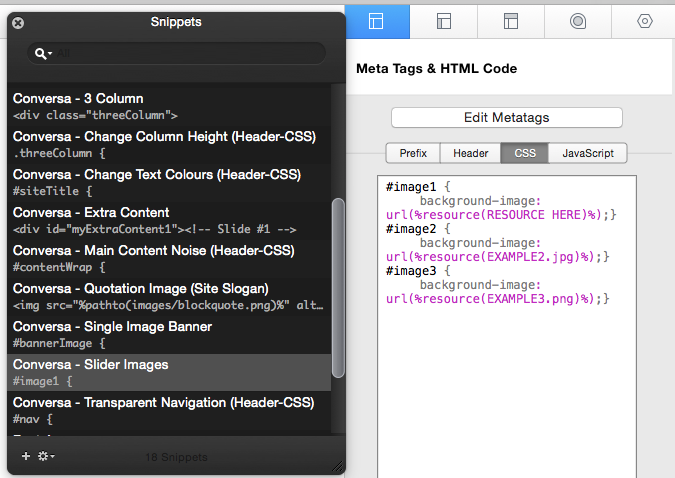
Adding Banner Images
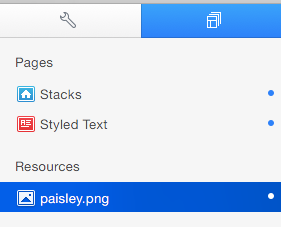
Step 1: Add the image you want to use to your Resources section.
Step 2: Navigate to the HTML CSS section of the Page Inspector:
Step 3: Copy and paste the text from below into the text area.
1 2 3 |
#bannerImage {
     background-image: url(%resource(paisley.png)%);
)%);}
|
Step 4: Change the name of the file inside of this code (paisley.png) to match the image you added to the resources section.
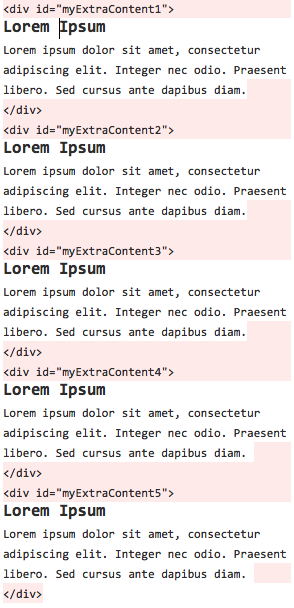
Extra-Content
Step 1: Drag & drop the Extra Content snippet into the Sidebar inside the Page Inspector.
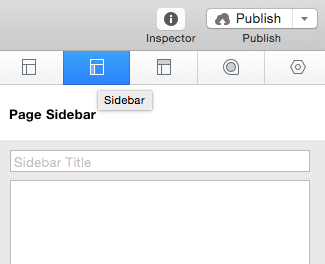
Step 2: Highlight “CONTENT HERE” in the section you wish to edit. Click on Format in the Rapidweaver menu & uncheck Ignore Formatting from the drop down menu.
Step 3: Edit Each “CONTENT HERE” Section according to how you wish it to display on the page.
Linkable Buttons
Step 1: Go to the edit content section & enter the text you want to display on the button. Example: Button Text
![]()
Step 2: Highlight the text & click on the Create Link button in the lower left corner of the window.
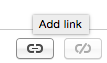
Step 3: Create a link to the desired page & create a Custom Attribute with the name “class” & a value of “button”. Click Set Link and you are done!
Social Media Icons
Step 1: Paste the Social Media snippet included with the Conversa theme.
Step 2: After Inserting the code, copy the web address you wish to link the icon to and and replace the ‘#’.
Example:
<a href="#">
1 |
|
to
<a href="www.twitter.com">
1 |
|
Step 3: After you have added addresses to all the icons you wish to display, highlight all of the code you have inserted and Click on Format in top menu bar, then click on Ignore Formatting from the drop down menu.
Social Media Icons Above the Navigation Bar
Step 1: Add the head2 class to each of your Social media snippets.
Example:
<a href="#"/> <img alt="socialmedia" src="%pathto(images/social/aim.png)%"/> </a>
should be changed to
<a href="#"/> <img alt="socialmedia" src="%pathto(images/social/aim.png)%"/> </a>
1 |
<strong style="font-family: Georgia, 'Times New Roman', 'Bitstream Charter', Times, serif; font-size: 13px; line-height: 19px;">Step 2: </strong><span style="font-family: Georgia, 'Times New Roman', 'Bitstream Charter', Times, serif; font-size: 13px; line-height: 19px;">In order to get the icons right above the navigation bar you must paste the edited code (like the example above) or snippet into the site title.</span> |
Step 3: Place the code directly after the title of your site.
Make sure to edit the links before pasting them into the site title. You will be unable to navigate very well once they have been pasted.
Remove Social Media Buttons from the Gallery Viewer
To remove the Social Media buttons in the gallery viewer just add the code below to your HTML – CSS section of the Page Inspector.
1 |
.pp_social {display: none;}
|