Setup
Just by adding the stack to the stacks editor it will automatically override your theme or framework base font size and line-height and scale all elements based on the Golden Ratio for typography . By default the font-size is set to 18px and this can be adjusted between recommended font sizes of 16 to 24px. Depending on the font you use you may need to make adjustments to the line-height. It can be adjusted from 3-7 (the number represents the value in tenths + 1 = 1.3 to 1.7).
Mobile will automatically be set to a recommended font-size of 16px. This can be changed by disabling the “Auto adjust for mobile” option. The remaining settings are optional and are gone over in the Menu Settings section below.
Menu Settings
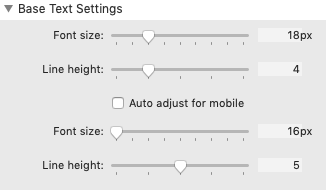
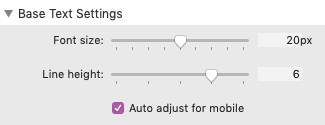
Base Text Settings
Font size: Sets the base font size for the entire stack page. All elements will scale in size according to this value. This setting is limited to recommended values for readability.
Line height: Adjusts the space between lines. This setting is limited to recommended values for readability.
Auto adjust for mobile: The recommended base font size for mobile is 16px. Disable this option if you want to set your own values.
Optional Text Settings
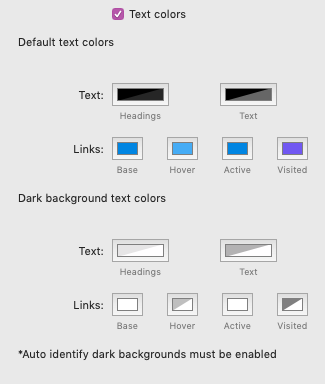
Text colors: Enable to define page wide default text colors.
Default text colors: Color settings for all of the headings, text, and links on your stacks page. These colors will apply to all text but can be overwritten by any stack that allows you to color text.
Dark background text colors: Color settings for all of the headings, text, and links that have dark color backgrounds. These colors will only apply if the “Auto identify dark backgrounds” option is enabled and if any dark backgrounds are identified. Image and gradient backgrounds cannot be identified automatically.
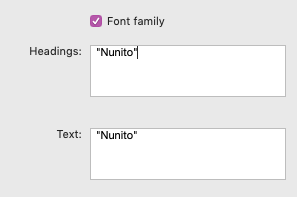
Font family: Enable to define custom fonts for the headings and text on your stacks page. Custom fonts are case sensitive and should include quotation marks.
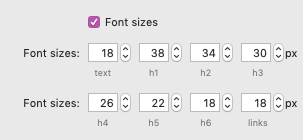
Font sizes: Enable to define specific font sizes for each element. These font sizes can be overridden by any stack that allows you to adjust font size.
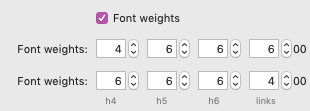
Font weights: Enable to define specific font weights for each element. Each value is in hundreds (IE 4 = 400). The font you are using must support the values you set. If you are using the Webfont Helper stack fonts, the corresponding weights by title are:
- 100 = [Font-name] Thin
- 200 =[Font-name] ExtraLight
- 300 =[Font-name] Light
- 400 =[Font-name]
- 500 =[Font-name] Medium
- 600 =[Font-name] SemiBold
- 700 =[Font-name] Bold
- 800 =[Font-name] ExtraBold
- 900 =[Font-name] Black
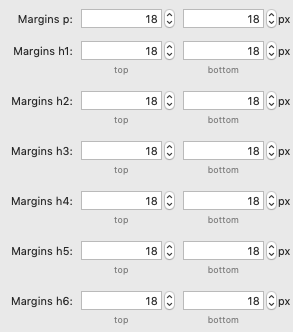
Text Margins: Enable to define specific top and bottom margins for each element.
Typography Tools
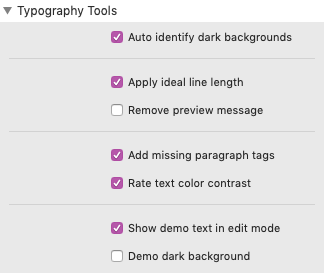
Auto identify dark backgrounds: Enable to have the stack automatically identify text with dark backgrounds and apply lighter defined text colors (If text colors are enabled).
Apply ideal line length: Enable to have the stack automatically apply an ideal max-width to all text for readability purposes. This setting may not work for every page. Switch to preview mode to see a message and to get the width value. Use this value manually if the automatic line length causes issues or does not work properly. The message only appears in preview mode and not when published.
Remove preview message: This will hide the “Apply ideal line length” option message in preview mode.
Add missing paragraph tags: Enable this to have the stack wrap loose text with <p> tags. Some text stacks do not properly identify paragraphs as such. Enabling this option will help the “Apply ideal line length” tool apply to the right text.
Rate text color contrast: Enable this to have the stack rate the color contrast of all of the text on your stacks page. You must switch to preview mode to see the results. The results are just suggestions and may not be 100% accurate. Text with gradient or image backgrounds will not return a usable rating.
Show demo text in edit mode: Enable this to see an example of every element in edit mode. This can make it easier to make adjustments to the settings.
Demo dark background: Will change the background color of the demo text. The “Font color” option should be enabled when using this option.
Using Big & Small Tags
You can use the <big> html tag to force any text to be 150% larger. This works for all elements from headers to paragraphs. All you need to do is wrap what ever text you want to enlarge with <big> and </big>.
<h2><big>Lorem Ipsum</big></h2>
Likewise, you can do the same with the <small> tag to make text 20% smaller. This is good for fine print or note style text.
<p><small>Lorem ipsum dolor sit amet, sapien platea morbi dolor lacus nunc, nunc ullamcorper. Felis aliquet egestas vitae, nibh ante quis quis dolor sed mauris. Erat lectus sem ut lobortis, adipiscing ligula eleifend, sodales fringilla mattis dui nullam. Ac massa aliquet.</small></p>
Alternatively, you can adjust the font size of any text using any stack that supports styled text. Note however that only the <big> and <small> tags adjust the line height of the text to match the font size.
Using Webfont Helper
Add the Webfont Helper stack to the stacks editor. Then simply select the font you want to use and drag/drop it anywhere outside of the Webfont Helper stack.
Important: Do not publish your project with the Webfont Helper stack still in the editor. While this will certainly not cause any harm to your project/website it can cause an insanely long upload time as there are over 1000 font files included in this stack. We have broken each of the 45 fonts into separate stacks that can be dragged and dropped outside of the Webfont Helper stack to use. Once you have chosen fonts you want to use, delete the Webfont Helper stack from the editor and only the selected font files will be uploaded.
Then in the Readable stack settings enable the “Font family” option. Add the title of the font inside either the Headings or Text fields surrounded by quotation marks to apply the font IE “Nunito”.
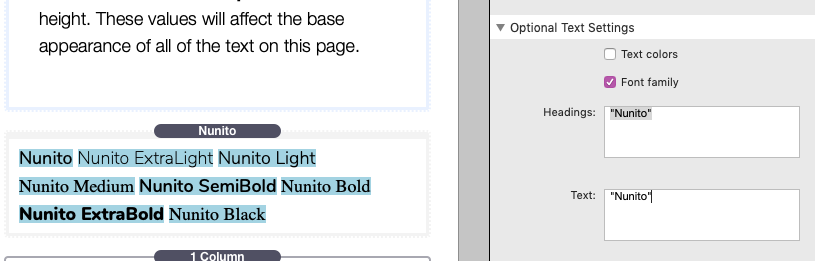
The first title in the font stack will apply default font weights automatically. If you would like to apply a specific font weight, use the title of the font that includes the font weight IE “Nunito ExtraBold”