Setup
Step 1: Add Silhouette to your editor
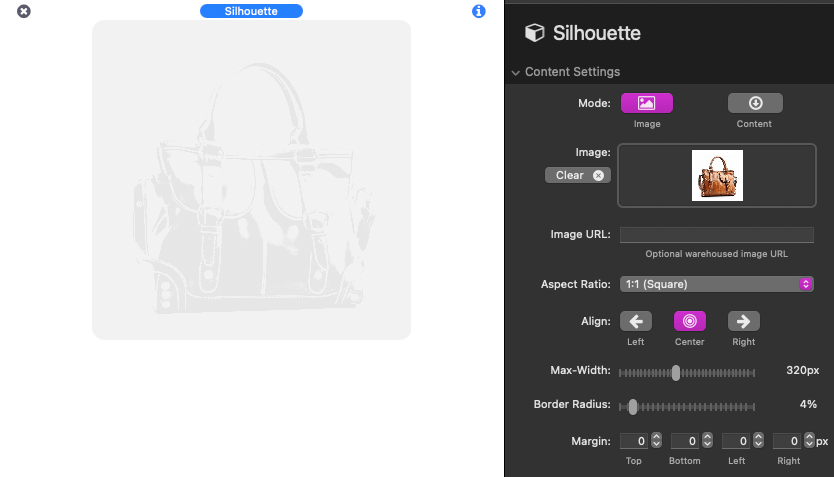
To begin, add Silhouette to your editor. Once added, select it and open the settings panel. By default, the stack uses a provided image to create the silhouette. You can optionally change the mode from Image to Content to provide your own stack content. In this tutorial, we will use the Image mode.

Step 2: Add your image
Next, select your main image. You can either drag and drop an image directly into the Image field or click the Browse button to select an image from your device. Alternatively, you can input the URL of an image hosted online.
Step 3: Adjust the size and aspect ratio
By default, the image will cover a 1:1 (square) aspect ratio. Select one of the aspect ratio options to change the image dimensions. Use the Max-Width slider to adjust the image size and the Align setting to change its horizontal alignment. Optional Border Radius and Margin settings allow you to add rounded corners and adjust the space around the image.
Step 4: Define a link
If you’d like the image to be a hyperlink, add a URL destination by clicking the Set Link button.
Step 5: Edit the transition effect
When the image transitions from an inactive to an active state, a transition animation will play. Choose from 8 animation options, each option can be previewed in the editor on selection. The Transition Speed setting lets you adjust the animation duration in milliseconds.
Step 6: Edit the Active State
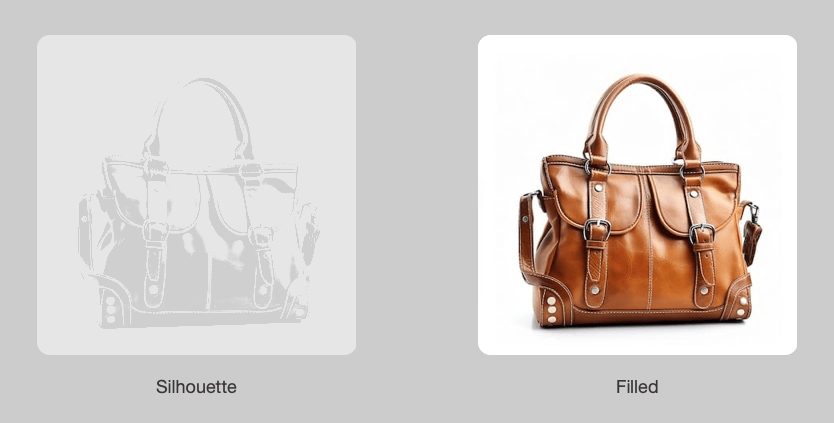
By default, the image loads in an inactive state, displayed as a silhouette. When hovered, it transitions to an active state, revealing the full image. Change the Active State setting from Filled to Silhouette if you’d like the image to display normally by default and transition to a silhouette on hover.
You can also adjust the Active On setting from Hover to View so the image transitions when it enters the browser’s viewport rather than on hover. When Active On is set to View, you have the option to keep the image in its active state, disregarding transition settings.
Step 7: Style the Silhouette
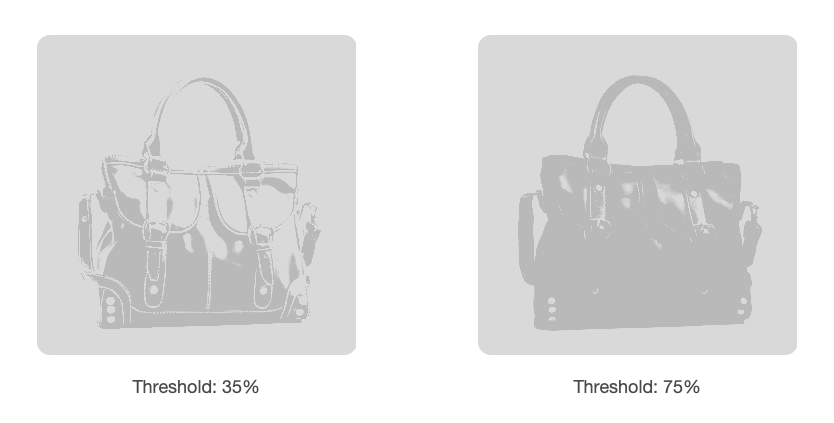
Modify the silhouette’s appearance using a few settings. The Color setting allows you to change the silhouette color. The Threshold setting adjusts how much of the lighter parts of the image contribute to the silhouette.
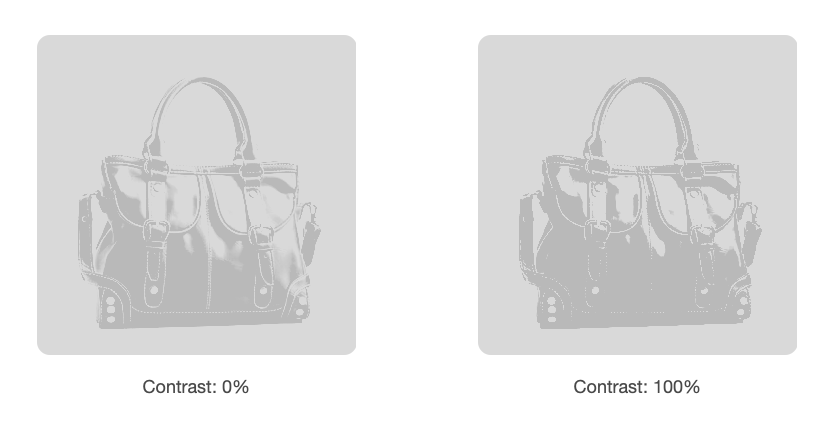
Use the Contrast setting to create more defined lines in areas with gradual brightness changes.
Step 8: Modify the Silhouette
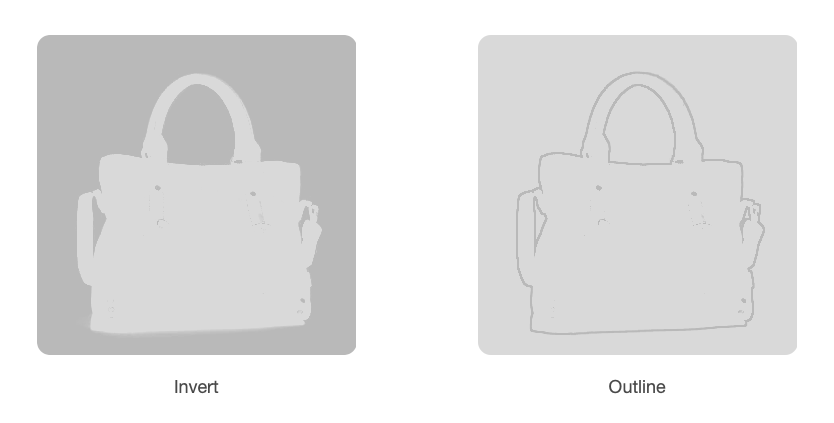
By default, the silhouette displays as a solid object. Increase the Outline value from 0 to convert it into an outline. A lighter tone will appear in areas not included in the silhouette. Use the Invert Silhouette setting to base the silhouette on the lighter parts of the image instead.
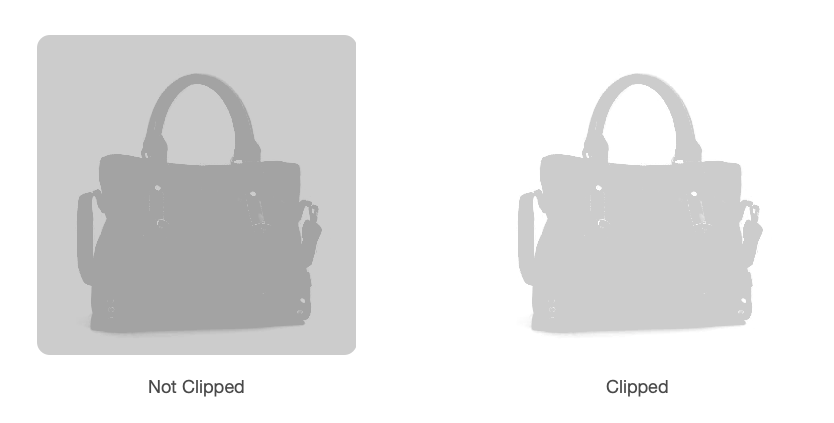
Lastly, you can enable Clip Silhouette to clip out the image areas excluded from the silhouette, changing the element’s shape to match the silhouette.
Step 9: Modify the Fill
When in the filled state, the image displays as normal by default. You can opt to display the silhouette with a solid color or gradient instead using the Color setting.
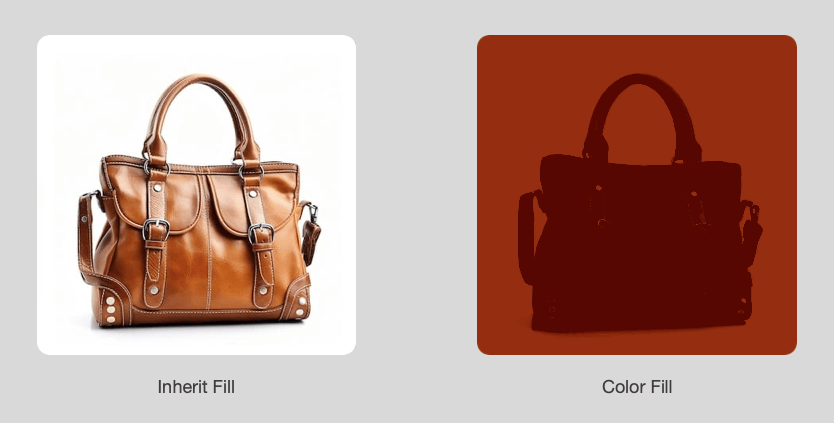
Like the silhouette, the fill can also be inverted using the Invert Fill setting, applying the fill to the lighter areas of the image. You can also enable Clip Fill to clip the fill to the silhouette, so when the image is in a filled state, it matches the silhouette’s shape.
