Setup
Step 1: Add Your Main Image
To start, add Image Blend FX to your editor. Once added, select it and open the settings panel.
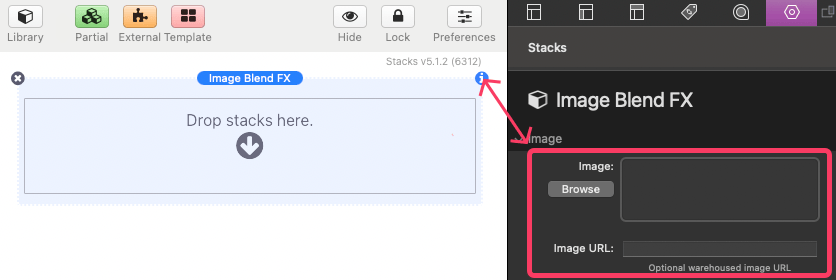
Next, you’ll need to choose your main image. You can do this by either dragging and dropping an image directly into the Image field or clicking the “Browse” button to select an image from your device. Alternatively, you can input the URL of an image hosted online.
Step 2: Adjust the Aspect Ratio to Match Your Image
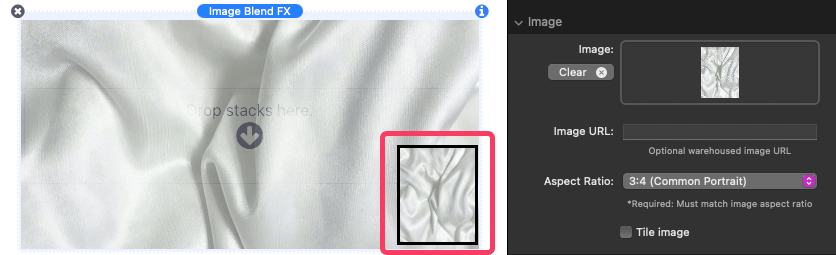
After adding your image, you’ll notice a thumbnail of it appearing in the editor. The shape of this thumbnail reflects the Aspect Ratio setting you’ve chosen.
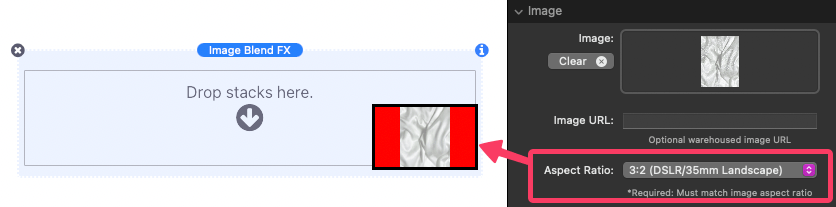
If the aspect ratio doesn’t match your image, you’ll see red bars on the sides or top and bottom, indicating that the image isn’t fitting correctly. Adjust the Aspect Ratio setting so it closely matches your image to avoid sizing issues or distortion. For example, if your image is in portrait orientation but the setting is for landscape, you’ll need to change it to portrait.
If you’re unsure of your image’s exact aspect ratio, simply try the available aspect ratio options until the red bars disappear or are minimized.
Need an image to use for blending? Unsplash has a number of great images to use. We recommend using the following search terms: texture, fabric, wall, floor https://unsplash.com/s/photos/texture
Step 3: Add Content to Blend with Your Image
Now, you can add content on top of your main image to create a blended effect. This content could be text, icons, or other images. For the best results, the content should be large enough to cover a significant portion of the image, allowing for a smooth blend.
Avoid adding animated or interactive elements, as these could cause display issues or bugs.
Step 4: Customize the Layout
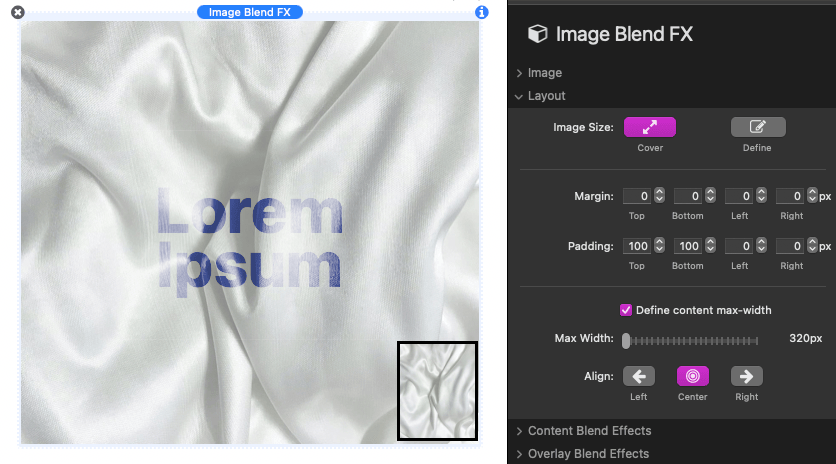
By default, the Image Size setting is set to “Cover.” This means the image will automatically fill the entire width of the available space and match the height of any content added on top of it. Note that a minimum height (corresponding to your set Aspect Ratio) will automatically be applied to the image to ensure a good blend.
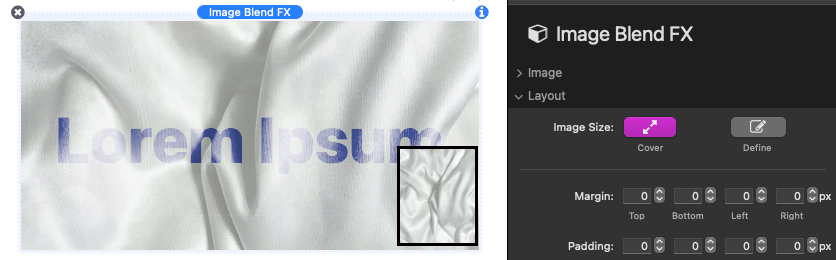
You can adjust the layout by using the Margin inputs to control the space around the image and the Padding inputs to manage the space inside the image around the content. You can also enable the “Define content max-width” option to set a specific width for the content and adjust its horizontal alignment.
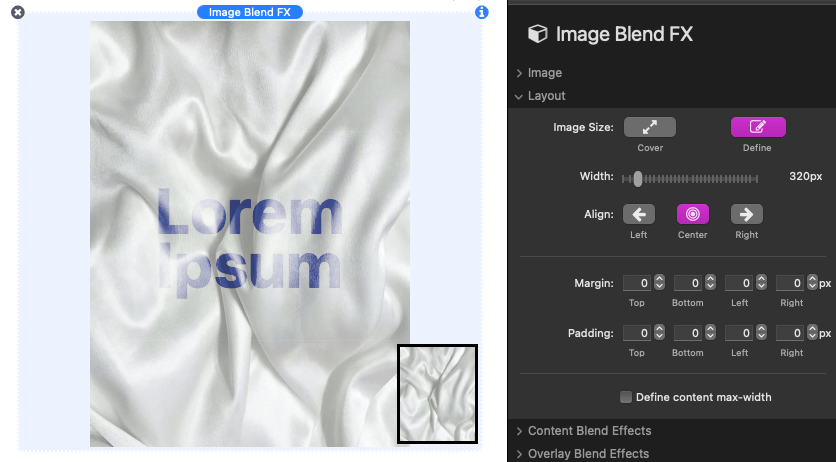
If you change the Image Size setting to “Define,” the image will no longer fill the entire width of the available space. Instead, you can define a specific width and adjust the horizontal alignment. The image will still match the selected Aspect Ratio, but if the content is too large, the image’s height will adjust to accommodate it, ignoring the aspect ratio.
Step 5: Adjust the Content Blend Effects
Navigate to the “Content Blend Effects” section in the settings panel to control how the content blends with the main image. It should be noted that each of the following settings affect one another and you may need to play with the sliders until you get a good blend between the content and image. Here’s a breakdown of the provided settings:
- Displacement: This slider adjusts how much the content distorts to match the texture of the image. A lower value (e.g., 0px) means no distortion, while a higher value (e.g., 30px) means the content will distort more to fit the image’s texture.
- If the displacement is greater than 0px an additional Edge Smoothing setting is provided to fine tuning the edges around the content. Higher values reduce jagged edges while lower values can better suit blending with more detailed images.
- Highlights: This setting controls the brightness of the content where it overlaps with the brighter parts of the image. Increasing this value makes the content appear as though it’s lifting upwards in 3D space. Note that this also causes the brightness of the content in those areas to increase.

- Shadows: Similar to Highlights, this setting adjusts the intensity of the darker areas of the image as they apply to the content. A higher value makes the content look like it’s sinking into the darker parts of the image. Note that this also causes the content in those areas to become darker.
- Adjust for Darker Images: This option helps fine-tune blending for darker images by tweaking the intensity of the Highlights and Shadows settings. After enabling it, adjust the Highlights and Shadows to see if the blend improves.
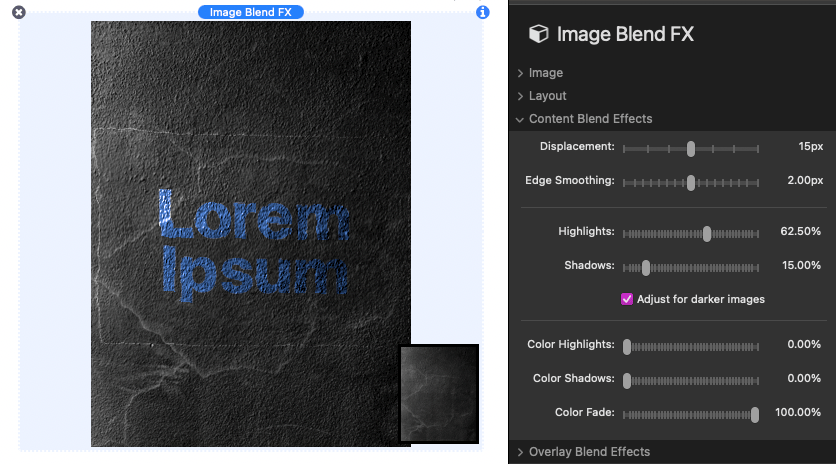
- Color Highlights: This adjusts how much the content’s color blends with the brighter areas of the image. A higher value can reduce the shininess of the content, giving it a more matte appearance.

- Color Shadows: This controls how the content’s color blends with the darker areas of the image. Increasing this value reduces the contrast, potentially making the blended content easier to see.

- Color Fade: This setting determines how the content’s colors blend overall with the image. The default setting is 100%, which reduces color saturation for a smoother blend. You can reduce this setting to 50% for more normal color saturation or to 0% for maximum saturation.
Add an Overlay Color
To further customize your design, you can apply a color overlay to your image. In the settings panel, go to the “Overlay Blend Effects” section.
- Set the Image Overlay to “Color” to replace the image’s original colors with a custom color. You’ll see additional settings similar to those in the Content Blend Effects section, but these settings will only affect the overlay color blend with the main image, not the content.
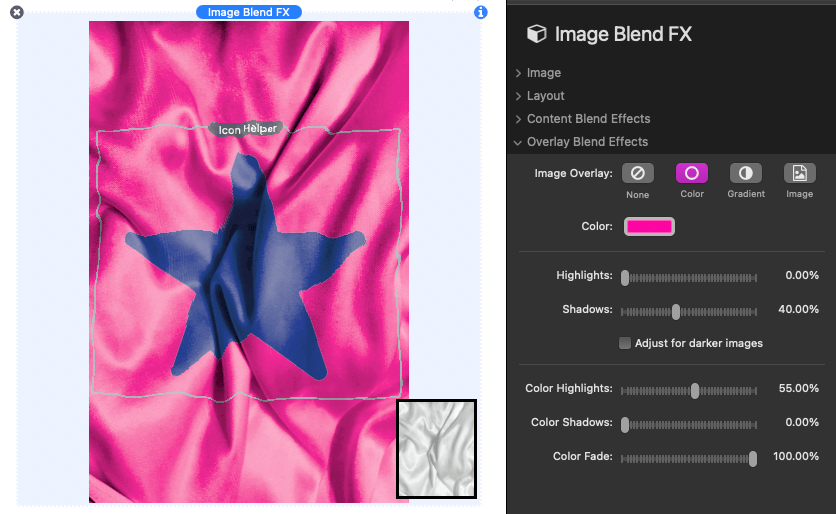
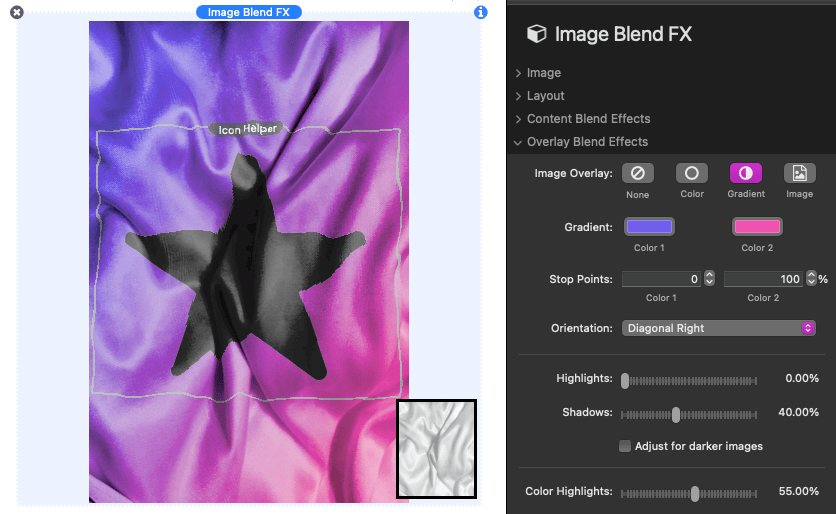
- You can also choose the “Gradient” option to apply a customizable two-color gradient instead of a single color overlay. The settings work the same way as the Color option, but they apply to the gradient.
Blend Two Images Together
If you want to blend a second image with your main image, choose the “Image” option under the Image Overlay setting. This allows you to add another image, which can be blended with the main image to create the appearance of a graphic being printed or painted onto it.
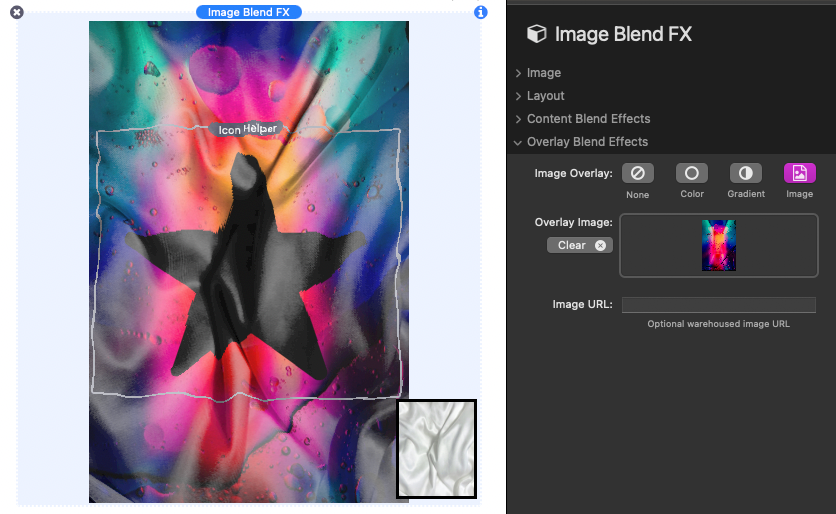
When this option is enabled, the Content Blend Effects settings will also apply to the second image, helping it blend seamlessly with the main image.