Google Analytics Tracking
Google Analytics allows users to gain traffic insight that is both very powerful and completely free.
Step 1. Create a Google Analytics account
Visit the Google Analytics website and create a free account. If you haven’t created a gmail account before you will first need to create that as well, which you can optionally link with other e-mail accounts if you prefer (linking accounts will allow you to log in with an e-mail address that is not @gmail.com).
Step 2. Copy the Analytics Tracking Code
When you finish creating account you will given a tracking code. Highlight this code and copy it (CMD + C). The code should look something like the following:
1 2 3 4 5 6 7 8 9 10 11 12 13 |
<script type="text/javascript">// <![CDATA[
var _gaq = _gaq || [];
  _gaq.push(['_setAccount', 'UA-12345678-9']);
  _gaq.push(['_setDomainName', 'yourdomain.com']);
  _gaq.push(['_setAllowLinker', true]);
  _gaq.push(['_trackPageview']);

  (function() {
    var ga = document.createElement('script'); ga.type = 'text/javascript'; ga.async = true;
    ga.src = ('https:' == document.location.protocol ? 'https://ssl' : 'http://www') + '.google-analytics.com/ga.js';
    var s = document.getElementsByTagName('script')[0]; s.parentNode.insertBefore(ga, s);
  })();
// ]]></script>
|
(function() {
var ga = document.createElement('script'); ga.type = 'text/javascript'; ga.async = true;
ga.src = ('https:' == document.location.protocol ? 'https://ssl' : 'http://www') + '.google-analytics.com/ga.js';
var s = document.getElementsByTagName('script')[0]; s.parentNode.insertBefore(ga, s);
})();
// ]]></script>
If you already created an Analytics account and need to find your tracking code again first go to your Account dashboard page. In the upper right will be an Admin button – click the Admin button.

Then select the “Tracking Info” in the middle column and then “Tracking Code” and your tracking script will appear.
Step 3. Paste the code in RapidWeaver
RapidWeaver 6 allows for the tracking code (including the script tags) to be inserted in the Stats section.
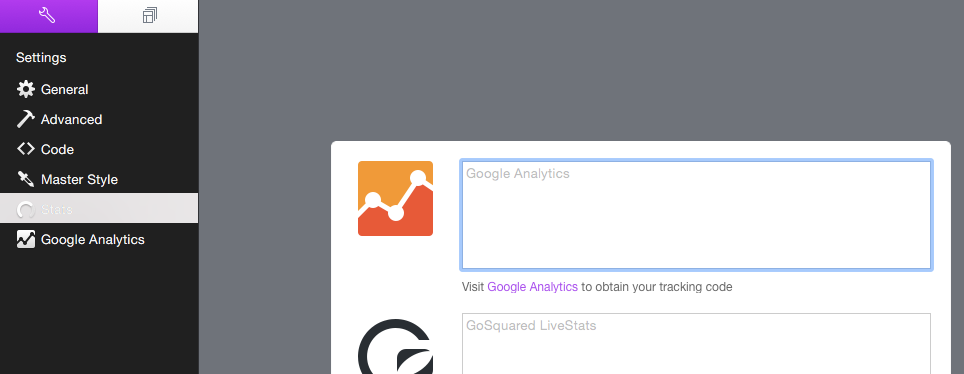
Paste (CMD + V) the tracking code in the top section next to Google Analytics. Include all the code (don’t leave out the <script> tags).
Step 4. Make sure your code is there
This step is not necessary, though I usually perform it in most cases. Load any page of your site in a browser, right click outside of any rich content (i.e. images, videos) and select “View Source” – then hit CMD + F to open a find/search option. Enter your account code… that’s the UA-12345678-9 number. If your code is on your page you should find this (You likely don’t need to enter the whole code either, UA-1 is probably enough).