Setup
Add Focus Panels:
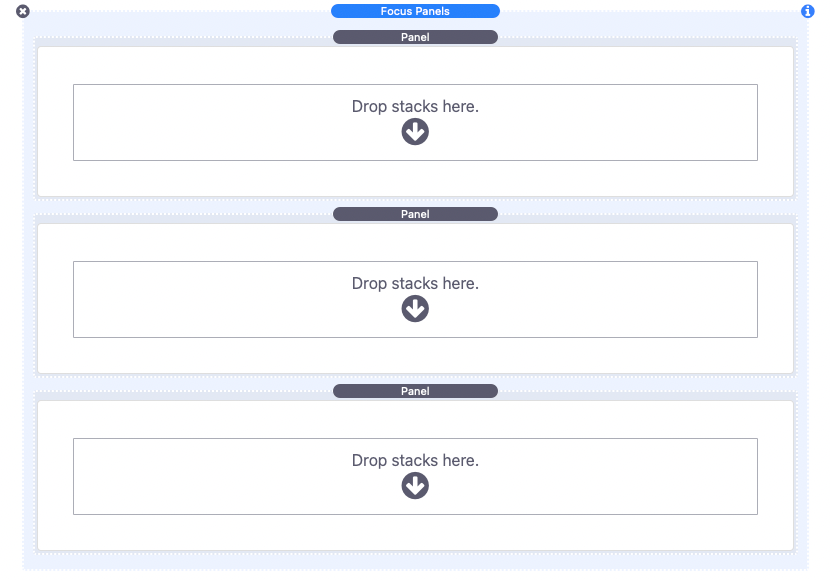
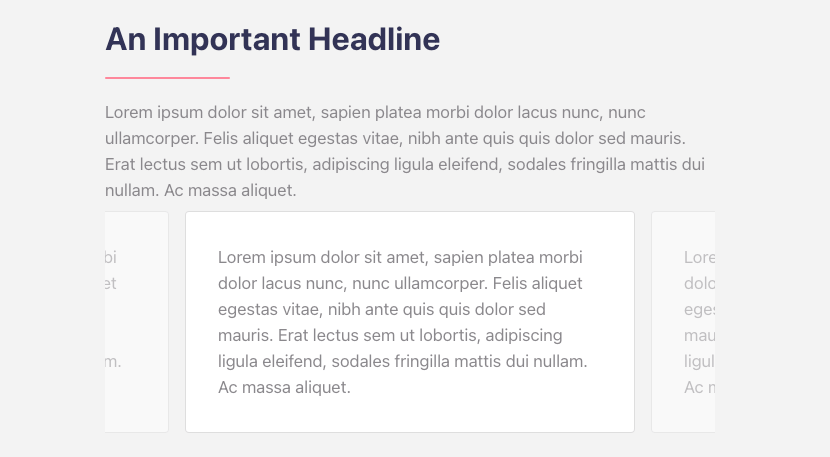
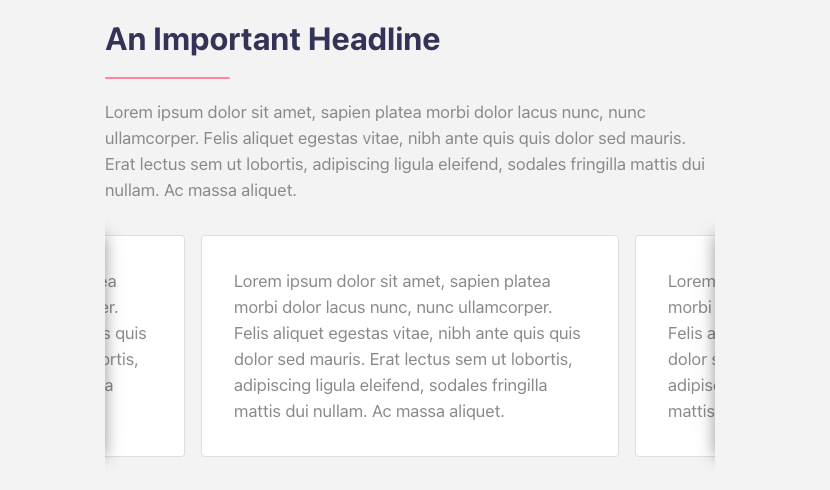
Start by adding Focus Panels to the editor where you want it to display. Three panels will be visible in the editor by default.
Add Content to Panels:
Populate the panels with your desired content. If you only need two panels, don’t worry about the third one; you can disable it later.
Adjust General Settings:
Click on the Focus Panels element and open the settings panel.
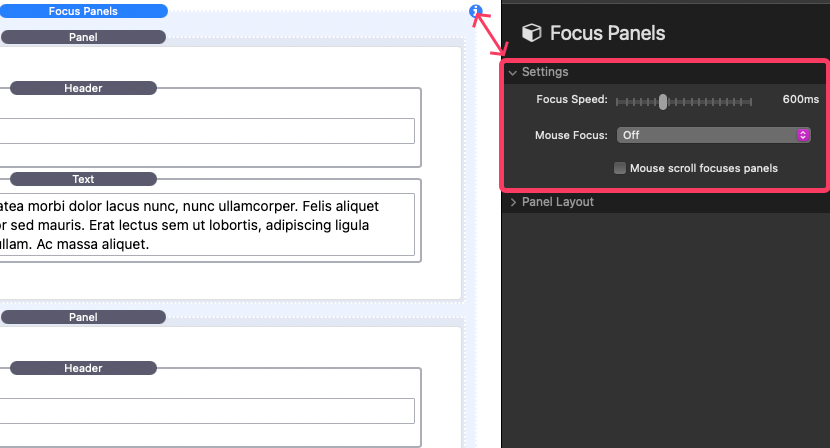
Here’s what you’ll find:
Settings
Focus Speed: Set how quickly panels shift into focus.
Mouse Focus: Choose how panels come into focus.
“On hover” will enable the ability to automatically bring a panel into focus when hovering over it with the mouse cursor.
“On hover with a timed delay” will bring a panel into focus only after hovering a panel for a definable length in time.
“Off” will disable mouse hover focusing all together, panels can only be brought into focus by click.
Focus Sensitivity: Available when Mouse Focus is set to “On hover”. Adjust how sensitive panel focus is to mouse movements.
“Low” will ensure that only intentional mouse movements from the page visitor activate shifting a panel into focus.
“Moderate” will also try ignore unintentional mouse movements but increases the responsiveness by executing a shift of focus the moment the mouse cursor stops moving during a hover.
“High” will maximize the responsiveness by shifting the focus the moment the mouse cursor hovers the panel.
Hover Delay: Available when Mouse Focus is set to “On hover with a timed delay”. Set the time in milliseconds before a panel shifts into focus on hover.
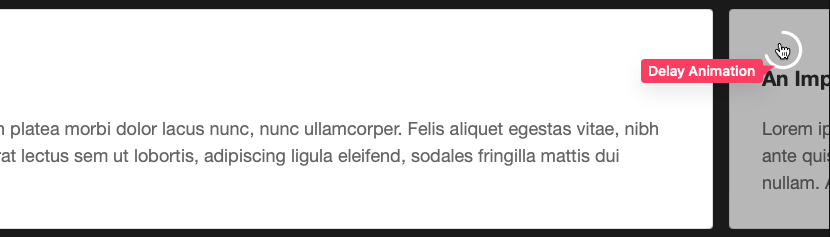
Delay Animation: Available when Mouse Focus is set to “On hover with a timed delay”. Define the color of the cursor animation when hovering over a panel.
Mouse scroll focuses panels: Enable to allow mouse wheel and trackpad scrolling to shift the panel focus.
Panel Layout
Demo layout in edit mode: Enable this to reorganize the panels in the editor to mimic how they would display in preview or when published. This setting is provided to assist with visualizing the effect of the remaining settings in this section.
Display Type: Choose how panels are displayed.
“Default” keeps all three panels in view inside the available horizontal content area. This option is ideal for themes that have a visual separation between the content area and the rest of the webpage design.
“Sliced” also keeps all three panels in view but adds a slice visual to give the appearance that the panels are piercing through the background of the website.
“Visible overflow” will allow the panels to be visible outside of the horizontal content area all the way to the edges of the browser window.
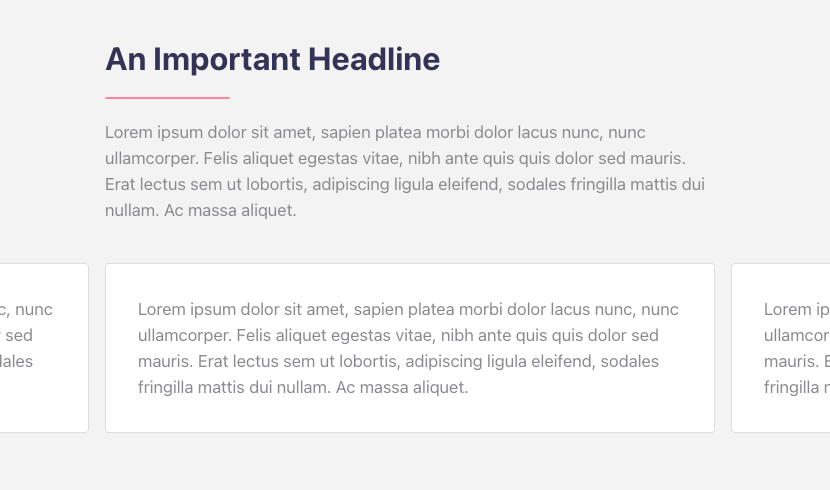
Panel Opacity: Available when Display Type is set to “Default”. Adjust the opacity of the panels that are not currently in focus.
Slice Opacity: Available when Display Type is set to “Sliced”. Adjust the opacity of the slice visual.
Focus Panel: Choose which of the panels is in focus when first when the page loads.
Panel V. Align: Choose how the panels align vertically in relation to each other. The “Stretch” option will force each panel to be the same height.
Panel Overlap: Available when Display Type is set to “Default” or “Sliced. Define in pixels the overlap of the panels that are not currently in focus into the available horizontal content area.
Panel Gap: Define in pixels the space between each of the panels.
Define panel min-height: Enable to define in pixels the minimum height for each of the panels.
Center align focused panel: Enable to force a panel to be horizontally aligned to the center when in focus.
Show two panels only: Opt to remove the third panel if necessary.
Adjust Individual Panel Settings:
Click on one of the panels in the editor and open the settings panel. Here’s what you’ll find:
Panel Layout
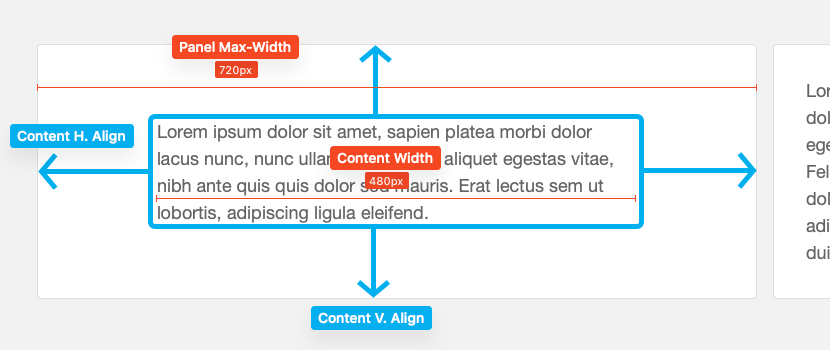
Content V. Align: Choose how the content inside the panel aligns vertically.
Define content width: Enable to define in pixels the width of the content inside the panel.
Content H. Align: Available when ”Define content width” is enabled. Choose how the content inside the panel aligns horizontally.
Define panel max-width: Enable to define in pixels the maximum width for the selected panel. By default each panel fills the entire available horizontal content area. This setting allows you to define varying widths for each of the panels.
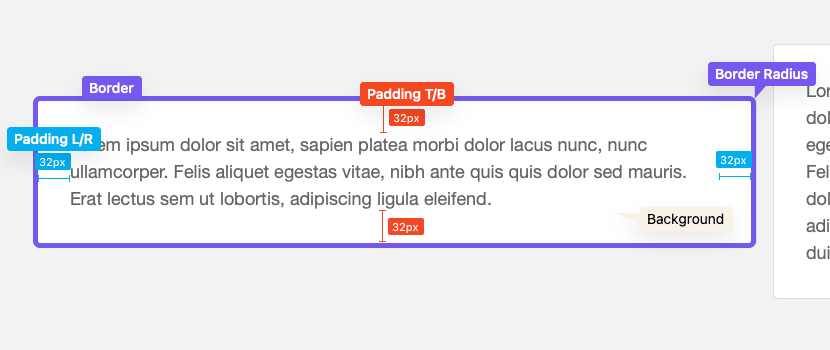
Panel Styles
The settings found in this section are rather straightforward. Refer to the provided image for a clear understanding of each setting’s effect.