Adding Slider Images
Step 1: Install the customslider.rwsnippet by double clicking it.
Step 2: If the customslider.rwsnippet is installed correctly it will appear in Snippets.
Step 3: Open the page inspector and select Header and click on CSS.
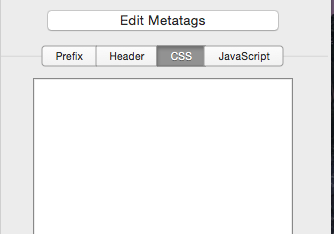
Step 4: Drag the Custom Slider snippet in to the Custom CSS box.

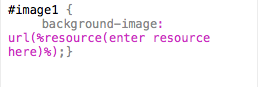
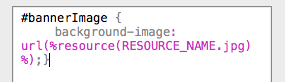
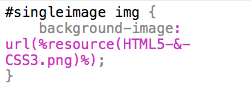
Once dragged in the code should appear as so.
Step 5: Go to resources located at the top left of the Rapidweaver window and add the resource of your choice from your computer.
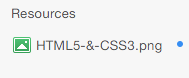
Step 5: After loading your resource click on it and highlight the name and copy it.
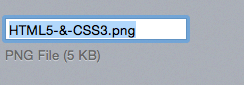
Step 6: Paste the name in-between %resource( and )%.
 –>
–> 
Addition
The Daipo Slider comes with 3 images and you can toggle from editing images 1 through 3 by simply changing
Installing the Calendar
Step 1: Install the Calendar Snippet by double clicking the Calendar.rwsnippet file
provided in the Carabine.zip.
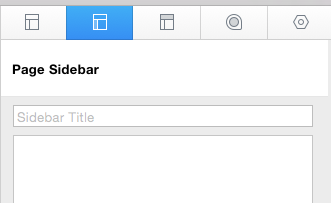
Step 2: Open up RapidWeaver and click on Page Info to open up the Page Inspector. Click on Sidebar Located in the Page Inspector.
Step 3: Open up Snippets
Step 4: The Calendar should be located in the Snippets if installed correctly.
![]()
Step 5: Click and drag the Calendar Snippet into the Page Inspector.

Step 6: This should complete your install of the Calendar.

jQuery Accordion
Step 1: Install the Accordion Snippet by double clicking the Accordion.rwsnippet file provided in the Carabine.zip.
Step 2: Open up RapidWeaver and click on Page Info to open up the Page Inspector. Click on Sidebar Located in the Page Inspector.
Step 3: Open up Snippets.
Step 4: The Accordion is located in the Snippets if installed correctly.
![]()
Step 5: Click and drag the Accordion Snippet into the Page Inspector.

Step 6: This should complete your install of the Accordion.
Customizing the Title
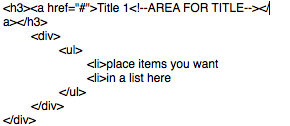
To customize the Title of any object in the accordion is simple. In between the <a href=”#”> and the <!–AREA FOR TITLE–></a> is where you will place your desired title.
<a href=”#”> HERE IS WHERE YOU WILL PUT YOUR TITLE<!–AREA FOR TITLE–></a>
To customize the list you will have to insert your info after the <li> tags.
<li>HERE IS WHERE YOU WILL INSERT YOUR CONTENT.
(also shown in the image below)
Adding to the List
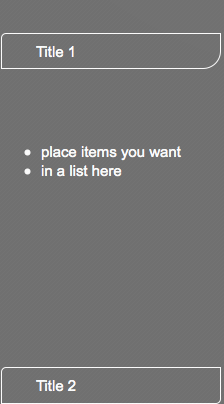
Adding to the list is simple all it will take is adding another <li> tag after the previous <li>tag.
<li>place item you want
<li>in a list here
<li>
(as shown in the image below)

Customizing the Paragraph portion of the Accordion
The title is edited in the same manner as the List.
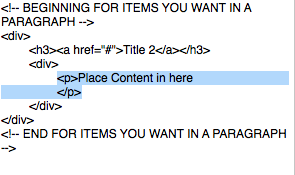
To place a paragraph you must insert it in-between the <p> and the </p>
<p>HERE IS WHERE YOU WILL INSERT</p>
Adding another paragraph
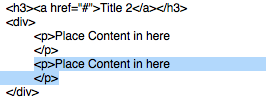
to create another paragraph you must ad a <p></p> after the previous </p>.
<p>Place content in here
</p>
<p>
</p>
(as shown in the image below)
Single Image Option
Step 1: You must install the singleimage.rwsnippet.
Step 2: Once installed open up the page inspector, click on header and then select Custom CSS. Open up Snippets to make sure the Single Image snippet is installed correctly.
Step 3: Drag the Single Image snippet into the Custom CSS in the page inspector.
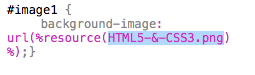
![]()
Step 4: Add a new resource by clicking on Add Resource or use an existing resource.
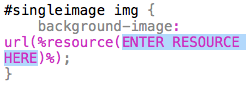
Step 5: Click on the resource you desire highlight the name then copy it.
Step 6: Paste the name in-between the %resource( and )%.
Social Media Icons
Step 1: Install the SocialMedia Snippet by double clicking the socialmedia.rwsnippet file provided in the Carabine.zip.
Step 2: Open up RapidWeaver and click on Page Info to open up the Page Inspector. Click on Sidebar Located in the Page Inspector.
Step 3: The SocialMedia buttons should be located in the Snippets if installed correctly.
![]()
Step 4: Click and drag the Social Media Snippet into the Page Inspector and it absolutely must be placed in the very top of the sidebar mark up.
Step 5: This should complete your install of the Social Media Buttons.
![]()
Creating Links
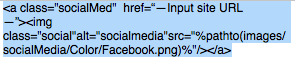
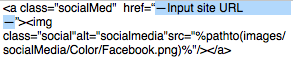
Step 1: After installing the Socialmedia snippet all you need to do is change the web address in the code. The web address will be located in-between
<a href=”HERE IS WHERE YOU WILL PUT THE WEB ADDRESS“>
(as shown in the image below)
Step 2: Get the Web Address that you desire to have your page link to and copy it.
(i.e. http://twitter.com/rapidweaver)
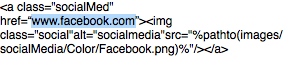
Step 3: Paste the Web Address in the code.
<a href=”HERE IS WHERE YOU WILL PUT THE WEB ADDRESS“>
(as shown in the image below)
Titles with Wrap Graphic

To use the wrap around Title exclusively on the Carabine theme is simple.
Step 1: Highlight the desired text.
Step 2: After desired Title is highlighted click on the add Html mark button at the bottom.
Step 3: Select Heading 1 or Heading 2 for the wrap around effect.