Tutorials

Implementing Goldfish

1. Double click and install Goldfish.
2. Drag Goldfish into page.
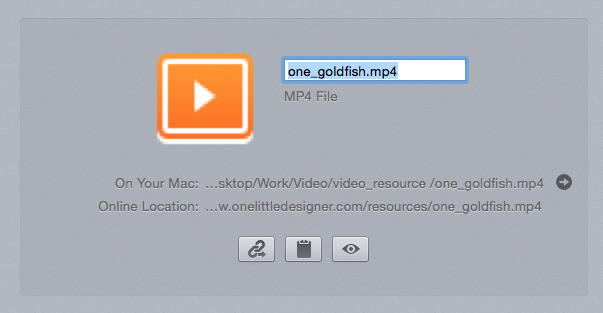
3. Take the movies that you want to use and drag them into the RapidWeaver’s resource. Use the formats MP4 and OGG for the movies to work across browsers. For best results use both formats.

Goldfish Resource

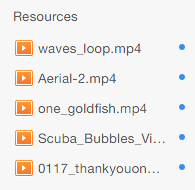
4. Copy the names of the files in the resources. Put them in the correct allocated areas in the Goldfish Video input area.

Goldfish Resource Name

Goldfish Input


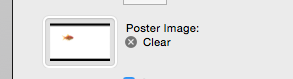
5. Make sure that you insert and image in Poster Image. This will ensure that an image will be there while the video is being loaded. This will also be the background for mobile if you are using the full screen option.

Screen Shot 2015-05-27 at 12.01.05 PM


Full Screen option

(Warning may run into problems with some themes ) contact out support if that happens.

1. Activate Fullscreen by selecting the option and selecting a bg overlay.

Screen Shot 2015-05-27 at 12.07.15 PM


2. Be sure that you have the width option set to 9000.

Screen Shot 2015-05-27 at 12.07.51 PM


Subtitles

1. Make sure you have you subtitle file ready, its a .vtt file. (Explanation of VTT and how to create)

2. Drag the VTT file into your Rapidweaver Resources.

Screen Shot 2015-05-27 at 12.06.39 PM


3. Put the file name into the captions option.

Screen Shot 2015-05-27 at 12.07.02 PM


4.Enjoy your new captions

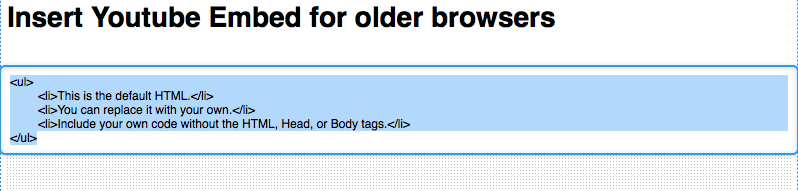
Preparing for Older Browsers

1. Select an image or an embed code from a site like Youtube or Vimeo.

2. Drag the image in to the set image area.

Goldfish Img

3. Be sure to delete the default HTML if you aren’t using it.

Goldfish embed

RapidWeaver Stack Tutorials

RapidWeaver Theme Tutorials

RapidWeaver Project Documentation

Tutorials and documentation for all 1LD Project files can be found at the link below.

See Documentation

Get the power of a framework, for the price of a theme, in the convenience of a prebuilt RapidWeaver project file

Blog

Movable Windows

Move beyond the confines of static content layouts! Movable Windows allows your page visitors to effortlessly drag and reposition custom content windows anywhere in the browser viewport. Windows can be minimized to free up space and stay fixed to the browser viewport so they are always accessible.

Resize & Minimize

Windows can be resized to take up more or less space, or maximized to fill the entire screen. But that’s not all – these windows are like handy sidekicks, always ready to assist. Need quick reference? No problem! Windows can be minimized when not in use, saving precious screen space for what really matters – your page content.

Inline

Open windows stay fixed on screen so they are always accessible. Minimized windows have three modes to choose from. “Inline” keeps it in line with other content, “Fixed” is always on screen, and “Draggable” lets you move it around while minimized.

Customizable

It’s not just about functionality; it’s about style too. Customize your windows by size, position, and color. Add in text, images, forms, links – you name it! Want a little more flair? Allow window resizing, choose whether they start minimized or open, change the toggle icon, or hide the window title when minimized.

Check it out!


© 2011 One Little Designer, 1 Little Designer (1LD)

RapidWeaver is a trademark of Realmac Software