Adding Custom Fonts in RapidWeaver
In a related article I wrote about the top 2 free font sources I highly recommend to all users (Font Squirrel & Google Web Fonts).
This article will discuss the details in activated downloaded font files in your website theme, though the steps are significantly different between Font Squirrel and Google Web Fonts as Font Squirrel gives you the actual font files where Google Web Fonts gives you code to call in the font from their server. Regardless, we’ll go over these steps below.
Font Squirrel & Calling in Font Files
There are 3 basic steps that need to be done:
- In the stylesheet, point the font to the correct font file location
- Upload the stylesheet & font files
- Call in the stylesheet
- Adding the Font to Text
Point the font to the correct file location in the stylesheet
I highly recommend that you do this step first as RapidWeaver does not give you any editing tools that can be used to change the stylesheet. You must make these changes first and then upload the stylesheet. If there is a mistake you can always delete the stylesheet and re-upload it though, so don’t get stressed out over this.
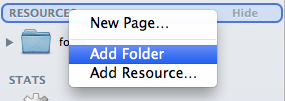
For organization I recommend you create a folder in the resources section. Simply right click the Resources title, which is located on the left side of RapidWeaver under the pages in Edit Mode. Then select Add Folder – in this example I will title my folder ‘fonts’ for obvious reasons.
When you download your font there will be a file that is most typically title stylesheet.css or there will be instructions on how to call in the name of the font. For the following example we’ll use Font Squirrel’s “Gooddog” font.
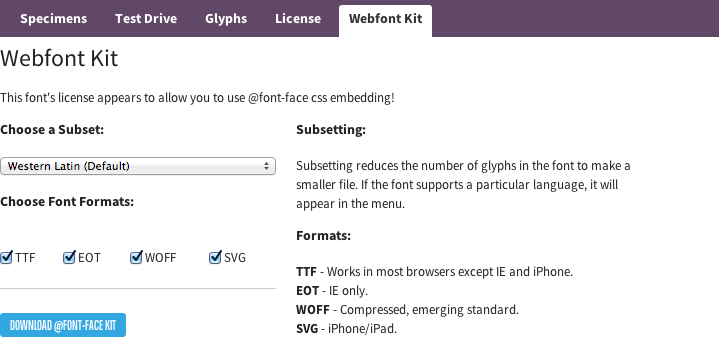
Make sure you don’t just download the OTF file, but rather download the Webfont Kit. This is important as it allows you to download the font in all the most common formats so that users on various devices will still experience the font well.

As is typical with Font Squirrel Webfont Kit downloads you will receive a stylesheet. Open this file up using any text editor (i.e. Aptana).
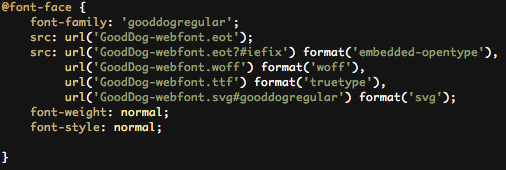
The code should appear something like the picture above. If your stylesheet is going to be located in the folder then you can leave this as it is, though if you want to add this to an existing stylesheet outside of the folder or create one outside the folder be sure to point to the files accordingly. In this example we’ll keep the stylesheet inside the folder with the font files, so nothing needs to be changed. If outside though you would simple add a fonts/ to the beginning of each URL.
Upload the Stylesheet & Font Files
Drag the stylesheet into the ‘fonts’ folder.
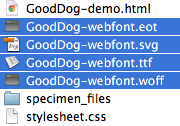
Next Drag the font files ending in eot, svg, ttf, & woff.
Call in the Stylesheet
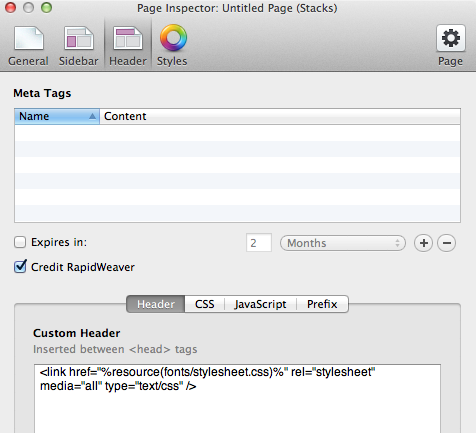
Now call in the stylesheet. The simplest way to do this is to go to the Page Info > Header > Header section in Edit Mode.
1 |
<link href="%resource(fonts/stylesheet.css)%" rel="stylesheet" media="all" type="text/css" /> |
You can now use CSS to assign the font to either an HTML element or you can assign it to a specific HTML element.
In the example font used you would assign this using the following CSS, I am going to place a fallback font as well in the chance that the font doesn’t load for the user:
1 |
font-family: 'gooddogregular', arial, sans-serif; |
To add this to an individual element you could use the following:
Your text
Though be sure to highlight it all on your page and hit CMD + . so as to disable RapidWeaver’s auto-formatting.
To target a global HTML element you would navigate to the Page Info > Header > CSS section. You could then use the following for example:
1 |
h3 {font-family: 'gooddogregular', arial, sans-serif;}
|
If the theme is not showing it you can always try throwing in an !important in efforts to override it.
1 |
h3 {font-family: 'gooddogregular', arial, sans-serif !important;}
|
Google Web Fonts
Calling in the files needed is much easier in Google Web Fonts. You don’t download any fonts or place anything in RapidWeaver’s ‘Resources’ section. You are given 3 different ways to import the font: Standard, @import, & JavaScript.
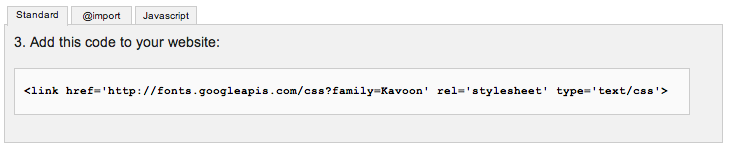
The biggest difference with each of these options is primarily where you would call it. The ‘Standard’ is an HTML call and can be done by inserting the provided code in the Page Info > Header > Header section. @import must be inserted in Page Info > Header > CSS section and JavaScript in the Page Info > Header > JavaScript section (remove the opening and closing <script> HTML commands). Note you only need to use one of these.
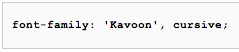
Then call in the font the same way as discussed previously. In this example I used the Google Web Font called Kavoon.