Even more icons are added to the list as the total climbs to 634 free scalable font icons.
For a list of all the icons check out the Font Awesome Icons page.
This is a completely free stack.

Even more icons are added to the list as the total climbs to 634 free scalable font icons.
For a list of all the icons check out the Font Awesome Icons page.
This is a completely free stack.

Pure Menus 2 was designed to give you more customizable control over your navigation menu. This all new stack now comes bundled with Pure for RapidWeaver. Adding advanced and more in-depth customizable settings, you can now style the menu to your liking. Check out some the example pages to see what you can do.
This Stack Requires: Stacks 3
Note: This stack will not replace the original Pure Menus stack and will show up as a separate stack in the library. If you already own Pure for RapidWeaver this additional stack is completely free! Just use the order lookup page to re-download the entire suite.
This is a free update for existing customers of PURE.
20% Off Discount Code for PURE: 25_Pure_052016
Offer Expires May 20, 2016

To kick things off I have a new free stack for you too. HIDE is a simple stack that does exactly what it’s name suggests… it hides content on your page, though you can also use it to reveal content. HIDE is made for parts of your website that you don’t want to display to users or only want to display to users when they are viewing your site in particular screen sizes, such as on a tablet or smart phone. Simply place stacks inside of hide and choose what screen sizes you want to hide/reveal the content in.

Font Awesome is a free stack that allows you to use Font Awesome icons on any Stacks page.
Many of our own stacks use Font Awesome, though when multiple instances of the stacks are called on a page they were calling Font Awesome over and over again as well. To avoid this so sites would run quicker we now provide this free stack 🙂

1. Drag Font Awesome onto the page anywhere (it won’t display in preview or when the site is published). This allows you to start using Font Awesome.

2. Drag the Font Awesome snippet into any text/html section. Then change the class to any Font Awesome icon you wish to use – see full list here.
Version 1.0.0 uses Font Awesome version 4.0.3.

Simple Headers is a free RapidWeaver Stack that offers extended control over HTML Headers. Customization options allow you to easily change between Headers 1 – 6, Inherit font sytle or change it with control over font size, font weight, underlining, italicizing, and alignment (left, right, center, justify). Inherit coloring or change the color and hover color. Lastly, you can add a custom class of your choosing (optional).


Free flat styled browser icons.
Icons come as PNG images at 150×150 pixels.
or you can manually download from images below.


A super simple stack that gives users control over container element positioning.
A knowledge of CSS is helpful, but not necessary. The concept of positioning is very simple to understand and explained in our tutorial section – also described below.
You can then place any other stack inside of Simple Position.


Simple Buttons allows you to drag and drop buttons into any Stacks section – Modern browsers can take advantage of beautiful new CSS3 effects, such as rounded corners & gradients. Pro adds background image options, Font Awesome icons and Advanced options.

Syntax Highlight Pro allows you to easily add code onto any Stacks page. Choose from 8 beautiful themes and code in over 20 supported languages.
Free version offers 1 theme & 7 supported languages.
The container is now position: relative so that absolutely positioned items can be placed inside (for advanced users).
In addition, the overflow: visible for parent containers was removed as it was breaking functionality when placed in some stacks. This was originally done for the Rotating text option, which will now have to be done manually by adding padding with the built-in Stacks option, which is the better way to do it anyway or rotated text could overlap with other objects and text.
If you wanted separate install options for the snippets used in the Simple Text page, which come as free installs with the free stack, then you have a couple other options.
1. You can manually add them yourself using the codes below.
2. You can simple copy and paste the code below without ever installing them as snippets.
![]()
The code in these snippets controls the CSS and can be dragged and dropped in the Page Info > Header > CSS section.You then need to create the HTML that will take the CSS styling. These are not in the Snippets and can be easily created by copying and pasting this code:
1 2 3 |
<a class="buttonDark" href="http://YourLinkSomewhere.com">Button for Dark Backgrounds</a> <a class="buttonLight" href="http://YourLinkSomewhere.com">Button for Light Backgrounds</a> <a class="buttonSimple" href="http://YourLinkSomewhere.com">Button that's just dang Simple</a> |
The snippets are not necessary to have in your Snippets section in Edit Mode either (so if you want that section cleaned up you can use the following codes):
For Button on Dark backgrounds
1 2 3 4 5 6 7 8 9 10 11 12 13 14 15 16 17 18 19 20 21 22 23 24 25 26 27 28 29 30 31 32 33 34 35 |
.buttonDark {
     -webkit-border-radius: 3px;
     -moz-border-radius: 3px;
     -ms-border-radius: 3px;
     -o-border-radius: 3px;
     border-radius: 3px;
     text-shadow: 0 1px 1px #000;
     width: 80px;
     text-align: center;
     cursor: pointer;
     margin: 20px auto;
     display: block;
     padding: 7px 15px !important;
     -webkit-border-radius: 5px;
     -moz-border-radius: 5px;
     border-radius: 5px;
     text-shadow: 0px 1px 2px rgba(0, 0, 0, .7);
     border: 1px solid rgba(0,0,0,0.5);
     box-shadow: 0px 1px 1px rgba(255, 255, 255, .2), inset 0px 1px 1px rgba(255, 255, 255, .4);
     -webkit-box-shadow: 0px 1px 1px rgba(255, 255, 255, .2), inset 0px 1px 1px rgba(255, 255, 255, .4);
     -moz-box-shadow: 0px 1px 1px rgba(255, 255, 255, .2), inset 0px 1px 1px rgba(255, 255, 255, .4);
     -ms-box-shadow: 0px 1px 1px rgba(255, 255, 255, .2), inset 0px 1px 1px rgba(255, 255, 255, .4);
     -o-box-shadow: 0px 1px 1px rgba(255, 255, 255, .2), inset 0px 1px 1px rgba(255, 255, 255, .4);
     background-image: -moz-linear-gradient(top, rgba(255,255,255,0.05) 0%, rgba(0,0,0,0.05) 100%);
     background-image: -webkit-gradient(linear, left top, left bottom, color-stop(0%, rgba(255,255,255,0.05)), color-  stop(100%,rgba(0,0,0,0.05)));
     background-image: -webkit-linear-gradient(top, rgba(255,255,255,0.05) 0%,rgba(0,0,0,0.05) 100%);
     background-image: -o-linear-gradient(top, rgba(255,255,255,0.05) 0%,rgba(0,0,0,0.05) 100%);
     background-image: -ms-linear-gradient(top, rgba(255,255,255,0.05) 0%,rgba(0,0,0,0.05) 100%);
     background-image: linear-gradient(to bottom, rgba(255,255,255,0.05) 0%,rgba(0,0,0,0.05) 100%);
     transition: all 0.4s ease-in-out;
     -moz-transition: all 0.4s ease-in-out;
     -webkit-transition: all 0.4s ease-in-out;
     -o-transition: all 0.4s ease-in-out;
     -ms-transition: all 0.4s ease-in-out;
}
|
For Button on Light backgrounds
1 2 3 4 5 6 7 8 9 10 11 12 13 14 15 16 17 18 19 20 21 22 23 24 25 26 27 28 29 30 31 32 33 34 35 |
.buttonLight {
     -webkit-border-radius: 3px;
     -moz-border-radius: 3px;
     -ms-border-radius: 3px;
     -o-border-radius: 3px;
     border-radius: 3px;
     text-shadow: 0 1px 1px #FFF;
     width: 80px;
     text-align: center;
     cursor: pointer;
     margin: 20px auto;
     display: block;
     padding: 7px 15px !important;
     -webkit-border-radius: 5px;
     -moz-border-radius: 5px;
     border-radius: 5px;
     text-shadow: 0px 1px 2px rgba(0, 0, 0, .7);
     border: 1px solid rgba(0,0,0,0.5);
     box-shadow: 0px 1px 1px rgba(255, 255, 255, .2), inset 0px 1px 1px rgba(255, 255, 255, .4);
     -webkit-box-shadow: 0px 1px 1px rgba(255, 255, 255, .2), inset 0px 1px 1px rgba(255, 255, 255, .4);
     -moz-box-shadow: 0px 1px 1px rgba(255, 255, 255, .2), inset 0px 1px 1px rgba(255, 255, 255, .4);
     -ms-box-shadow: 0px 1px 1px rgba(255, 255, 255, .2), inset 0px 1px 1px rgba(255, 255, 255, .4);
     -o-box-shadow: 0px 1px 1px rgba(255, 255, 255, .2), inset 0px 1px 1px rgba(255, 255, 255, .4);
     background-image: -moz-linear-gradient(top, rgba(255,255,255,0.05) 0%, rgba(0,0,0,0.05) 100%);
     background-image: -webkit-gradient(linear, left top, left bottom, color-stop(0%, rgba(255,255,255,0.05)), color-stop(100%,rgba(0,0,0,0.05)));
     background-image: -webkit-linear-gradient(top, rgba(255,255,255,0.05) 0%,rgba(0,0,0,0.05) 100%);
     background-image: -o-linear-gradient(top, rgba(255,255,255,0.05) 0%,rgba(0,0,0,0.05) 100%);
     background-image: -ms-linear-gradient(top, rgba(255,255,255,0.05) 0%,rgba(0,0,0,0.05) 100%);
     background-image: linear-gradient(to bottom, rgba(255,255,255,0.05) 0%,rgba(0,0,0,0.05) 100%);
     transition: all 0.4s ease-in-out;
     -moz-transition: all 0.4s ease-in-out;
     -webkit-transition: all 0.4s ease-in-out;
     -o-transition: all 0.4s ease-in-out;
     -ms-transition: all 0.4s ease-in-out;
}
|
The Simple Button
1 2 3 4 5 6 7 8 9 10 11 12 13 14 15 16 17 18 19 20 21 22 |
.buttonSimple {
	text-align: center;
	cursor: pointer;
	background: #349BCE;
	-o-border-radius: 3px;
	-ms-border-radius: 3px;
	-moz-border-radius: 3px;
	-webkit-border-radius: 3px;
	border-radius: 3px;
	border: 3px solid #4CAAD9;
	padding: 7px 15px !important;
	display: block;
	margin: 20px auto;
	width: 90px;
}
.buttonSimple:hover {
	background: #4CAAD9;
}
.buttonSimple:active {
	background: #349BCE;
	border: 3px solid #349BCE;
}
|
Simple Divider, the free Stack, now includes a new customization option.
To see the dashes option please visit the preview page.
If you have already download Simple Divider before you can get the update using our Order Lookup Form.

Upon request we’ve created a Free stack for creating simple dividers inside RapidWeaver. These are extremely simple so we’ve also created the alternative to use the Snippets as some users might prefer that method.
We’ve had several customers request coding to duplicate some of our simple looking dividers on various websites of ours. In response we decided to create a free stack call Simple Divider.
Due to the simplicity of this Stack I imagined that some users might prefer to use a snippet instead, so this post is being created for that purpose.
1 2 3 |
<div id="simpleDivider">
     <div class="theDivider"></div>
</div>
|
1 2 3 4 5 6 7 8 9 10 11 |
#simpleDivider {
     width: 100%;
     clear: both;
     padding-top: 20px;
     padding-bottom: 20px;
}
#simpleDivider .theDivider {
     width: inherit;
     border-top: solid 1px #CCC;
     border-bottom: solid 1px #FFF;
}
|
1 2 3 4 5 |
#simpleDivider .theDivider {
     width: inherit;
     height: 4px;
     background-color: #E0E0E0;
}
|
Placing a div tag inside of a div tag protects against spacing issues that occur when floated elements are placed above. Example, if there was simple one div tag and a margin was created for the top the margin would not display if there were certain elements floated above it, despite the clear call. The easiest solution, in my opinion, is to contain the existing tag inside another element and create padding, which will have no visible effect other than achieving the desired spacing.
A simple jQuery script can add any URL to your website’s logo, though you will need to identify what ID or Class has been assigned to your logo’s containing element first.
For this illustration we’ll use the Cinema RapidWeaver Theme.
It is also easiest to use a web browser that is able to inspect website structural elements, which can be done with most modern browsers now, though for this illustration I will be using Google Chrome.

As you can see in the screenshot, there is a <div> tag wrapping around the logo with id=”siteTitle” inside it. Alternatively, some developers may have a class tag, which can likely be used as well, though if there is an ID always use that.
First open your page inspector (example):
![]()
Navigate to the “Header” (example) section:

Select the JavaScript (example):
![]()
Then enter the following code:
1 2 3 |
$(document).ready(function() {
     $("#siteTitle img").wrap('<a href="http://www.ADDRESSHERE.com" />');
});
|
At the beginning of the middle line you will re-name #siteTitle to whatever the id tag is for your logo’s containing section. If a class tag is used only you would alter the hash tag to a period – as an example the above would be .siteTitle instead of #siteTitle.
Winners by “Best of class” categories and random drawing
Prizes: Each Winner gets our next theme about to release in a week or two. In addition, each winner gets a copy of our latest stack, cleanTabs (seen below).
Thank you everyone for entering – we hope to have another contest early next year.
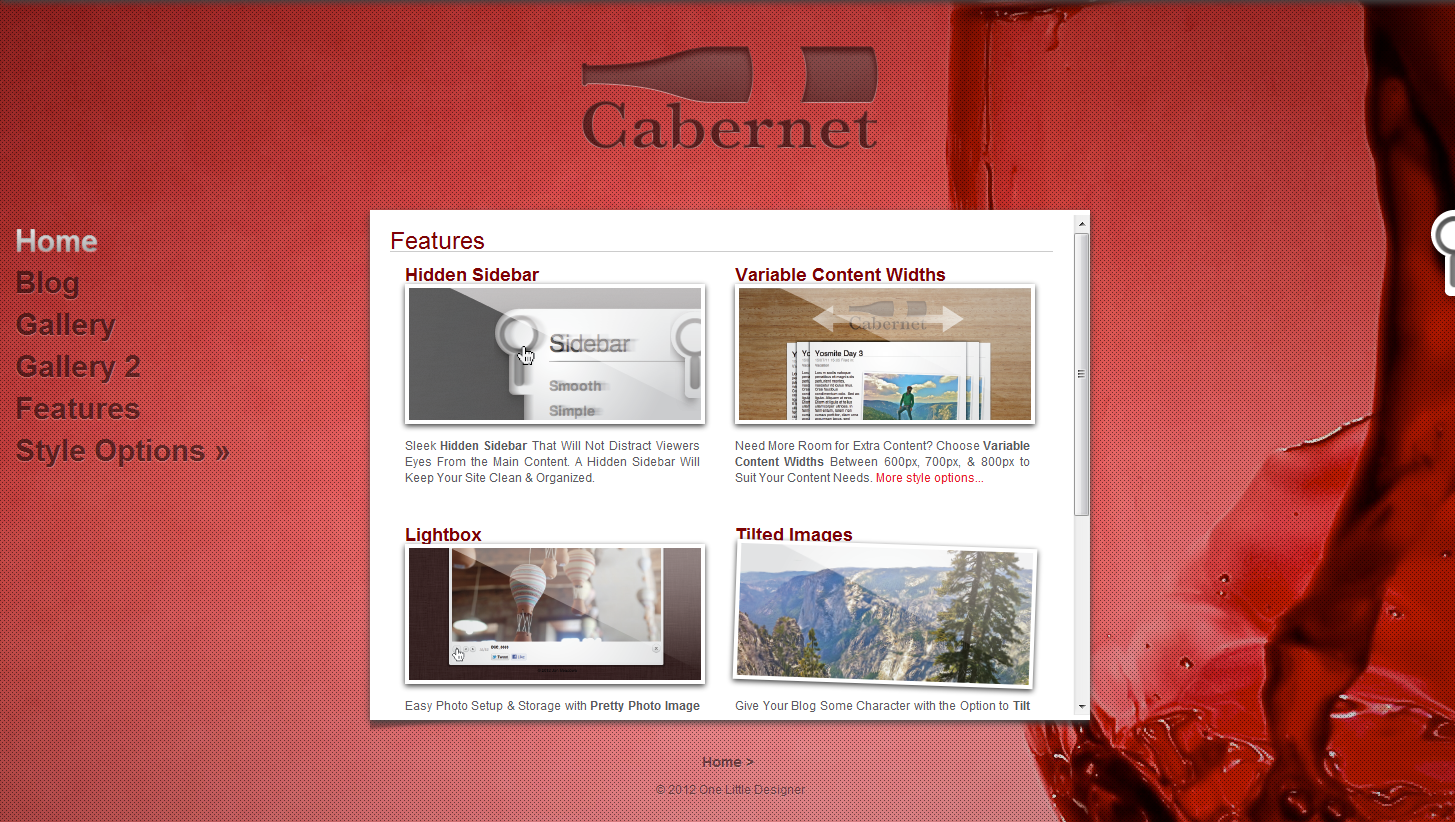
I suppose not a whole lot needs to be said here. Cabernet 1 has been out for a while and we don’t get many support questions on it any more… we were considering discontinuing the theme, but thought we’d just make it Free and still offer support.
It’s replacement theme, Cabernet 2, is fully responsive and offers a whole lot more than the first, though the first is still very engaging for minimalistic and photo-oriented sites.
cleanVideos is pretty cool stack that lets you place video embed codes in and makes them 100% responsive while holding the aspect ratios.
cleanVideos also ignores most video sizing code forcing the responsive size.
and now it’s completely FREE.