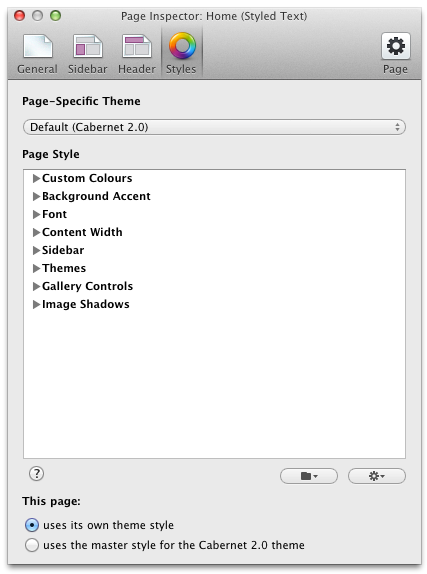
The page inspector is used to edit much of the page content that is more behind the scenes. However, much of this content is very important to know about and to edit.
The Page Inspector (also referred to as page options) can be opened by selecting the “Page Info” button in the top right. This will open the Page Inspector window.
The first thing to note is the toolbar at the top, which contains the main sections we will be discussing: General, Sidebar, Header and Styles. The “Page” option is ignored in this section as it pertains to specific page types, which are discussed under the relevant page sections in this book.
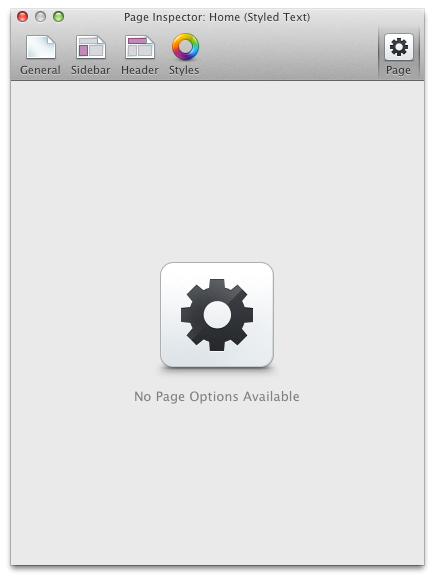
If no page options are available the “Page” button will only display the screenshot above.
General Options
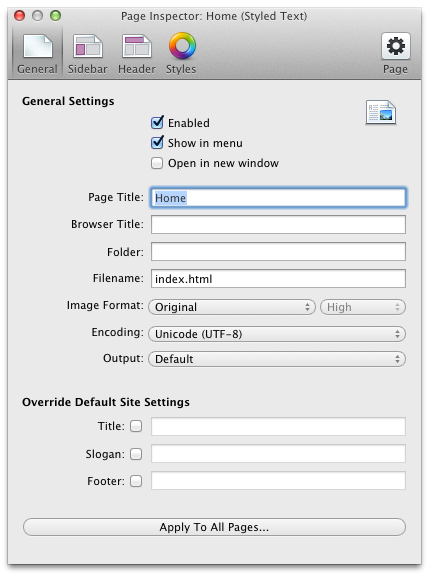
By default the screenshot above shows what the general settings will be for the first page you create on your website.
General Settings. The “Enabled” checkbox gives you the option to turn that individual page off completely, which may be desired if the page is still being edited though the rest of the website needs to be uploaded. “Show in menu” gives you the option to remove the page from your navigation menu – you could then link to it from a link somewhere else on your website. “Open in new window” gives you the option to open the page in a new window when it is selected in the menu instead of the default function of loading over the existing page.
“Page Title” refers to the page’s title by name and will be the name you see displayed on the navigation menu (this is not to be confused with the <title> tag). “Browser Title” is the name that will appear in the top of the browser, when the page is bookmarked and also when Google indexes the page (bolded & underlined blue text in searches that serves as a header for each search). The Browser Title is extremely important for SEO purposes and will be discussed more in the Search Engine Optimization section. This is the content found in the <title> tag.
“Folder” is more important for inner pages within the site. By default RapidWeaver will place pages you create after the home page in folders, which I recommend changing for SEO & organization reasons, unless you are using Cruftless Links. Google ranks pages as being less valuable the deeper they are located within your website according to your URL and according to the length or words in the URL. When you place a page within a folder then they are one more URL deeper in your site and you are spending more words before arriving at them, though Cruftless Links are the one exception.
For more on Cruftless Links please visit the Cruftless Links section.
Note, if you are using Cruftless Links please ignore the next step and proceed to “Override Default Site Settings.”
RapidWeaver allows you to rename these folders and files. If you delete the folder all together then the folder will display a forward slash, which simply means it’s in your root directory or the same folder your home page is in; this is what you want when pages are not an inner page, though make sure there are no duplicate names of our files (RapidWeaver will alert you when there is). If there is an inner page, then place the inner page in a folder named after the file it should be a child of.
Here I have made the example of a page called “about_us.html” As a URL this would appear as http://www.mydomain.com/about_us.html
To represent to browsers and search engines that a new page, “testimonies,” is a sub-page of “about_us.html” I placed the page in a folder named after the parent filename. As a URL this would appear as http://www.mydomain.com/about_us/testimonies.html
Override Default Site Settings. Here you can change the Title, Header & Slogan, which otherwise will take on the attributes set in the Setup section.
Sidebar
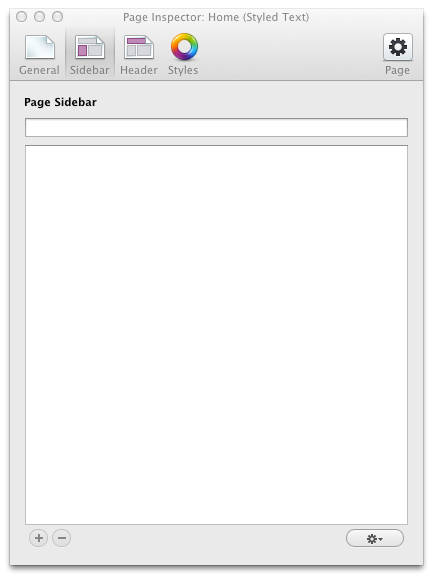
Sidebar is a fairly straight forward option. This section allows you to edit the sidebar section of your website, which will be located and formatted depending on your website’s theme. The top field controls the title of your Sidebar. The bottom section allows you to put the content of your Sidebar. Note that the Sidebar will automatically generate information on your blog page, such as Blog Categories, Tags, and Archive.
The tab with the gear icon at the bottom allows you to switch between “Styled” and “HTML” formatting. HTML formatting is handy when tracking lines of code and protecting from auto-formatting. When in Styled mode be sure to press Ignore Formatting if any HTML is entered.
Header
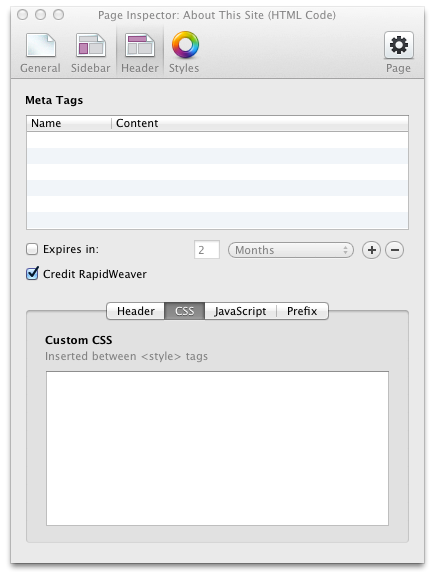
The top part of the Header section allows you to create and delete Meta Tags, which is designed to speak directly to search engines. Note that the name of the Meta Tag must be spelled exactly correct or the search engines will ignore it. In addition, the “Content” is limited to a certain amount of characters. Meta Tags will be covered more in the Search Engine Optimization section.
For a list of popular Meta Tags and their use please see the Glossary description of Meta Tags.
The toolbar in the middle controls the bottom section of the Header section.
Header. Header refers to content that is located in the top of the HTML document and can be used to add custom coding, such as the calling of certain files and API sources. This section should only be approached by advanced users in most cases.
CSS. CSS Refers to the language CSS and this section can be used for entering such code.
JavaScript. JavaScript refers to the language JavaScript and this section can be used for entering such code.
Note that this section has already been wrapped in <script></script> tags and including them again will cause your code to fail.
Prefix. Prefix information is contained at the top of the HTML page. Most users will have no need to ever edit this section unless the theme developer gives instructions otherwise.
Styles
The “Styles” section largely consists of options that are entirely dependent on your theme. The use of these customization options should be covered by the theme creator as well.
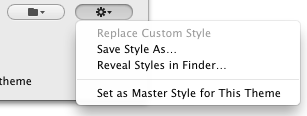
The gear button located in the bottom right gives you some powerful time saving options. “Save Style As…” lets you save all current style selections (I recommend naming it something easily memorable).
Be careful of selecting the “Set as Master Style for This Theme” as that will override styling you’ve done for other pages and set all pages to the current styling of the current page’s styles. This is an extremely handy feature at times, such as when you are re-designing a site that has many pages, though use with caution.
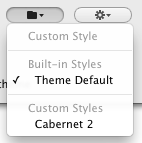
The folder icon allows you to select any “Custom Styles” you have created. You can always restore the styles back to the “Theme Default” as well.


